
9 Riggs Street

Before and After
Is there anything more fun that a good Before and After? Why remodel a house if you can’t show how great it looks compared to the Before?! So in the blog, we are doing just that. Proving to ourselves that we did a great job. Haha
The first set of pictures are taken from a video Jonathan sent me when he first was able to walk in the house. With foreclosure properties you buy the home sight unseen. Well, only seeing the front. I was in Cleveland visiting Jackson and he had the enviable job of cleaning out the house and assessing the damage…


Living Room
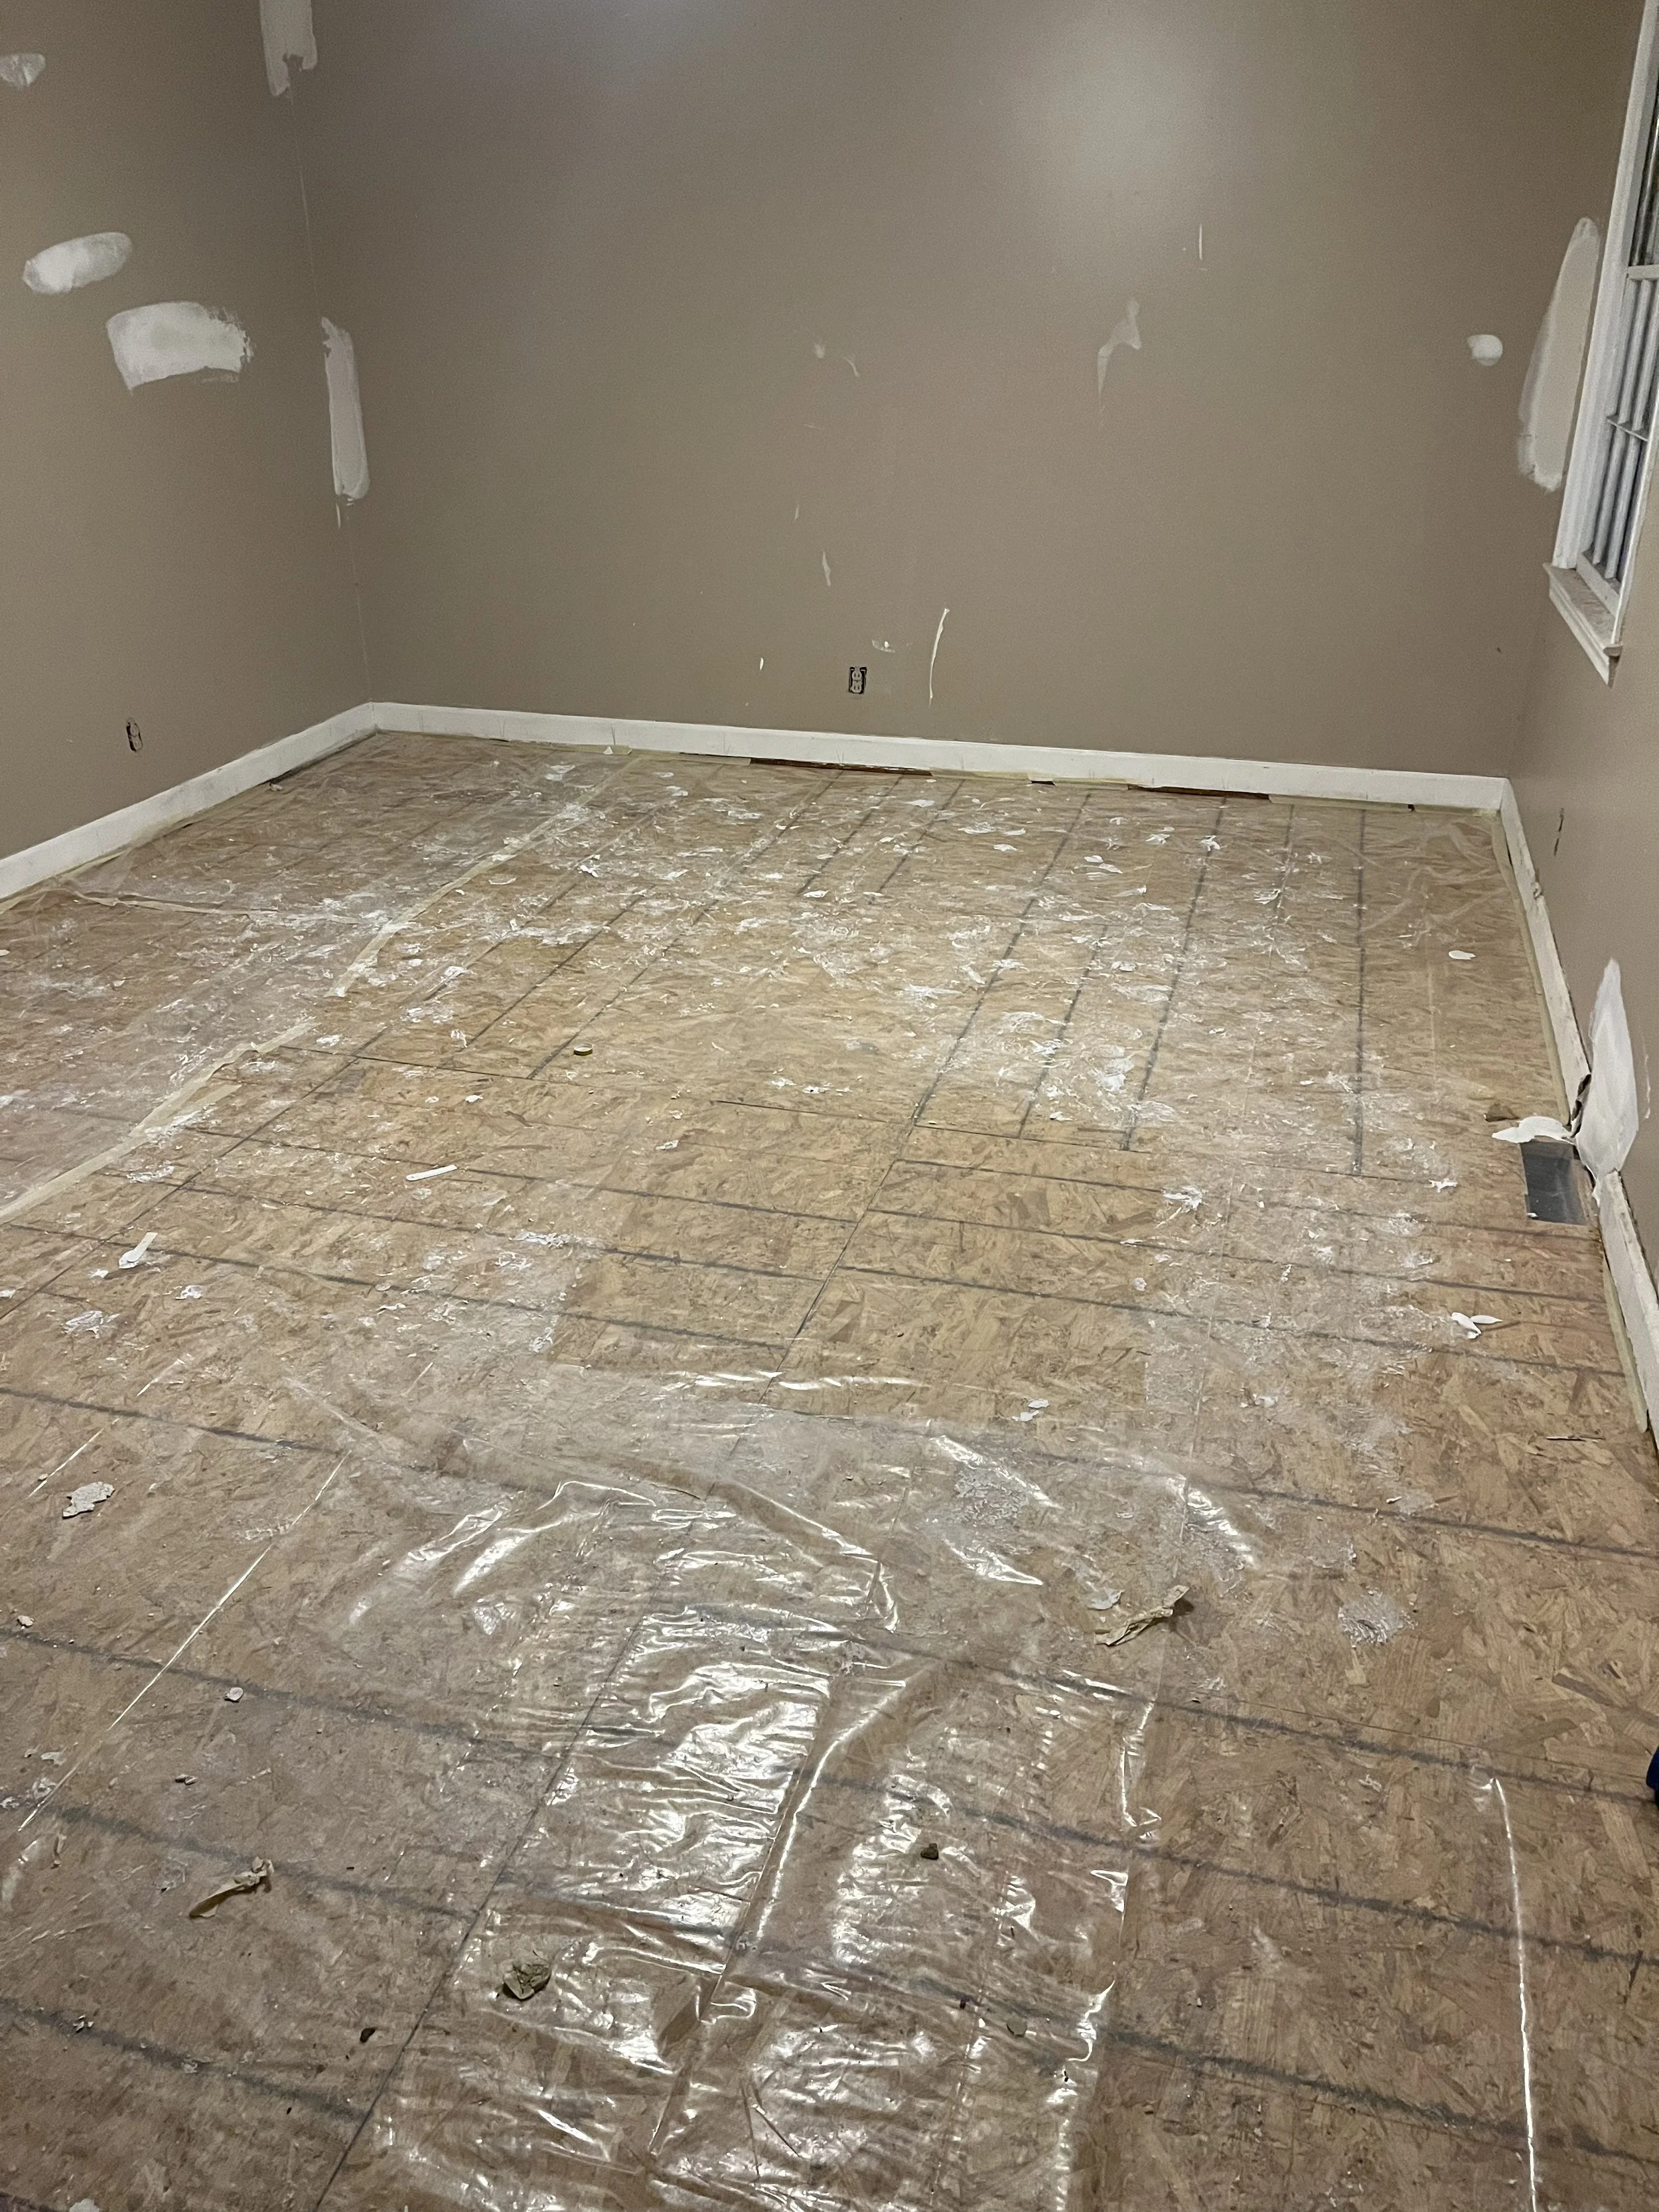
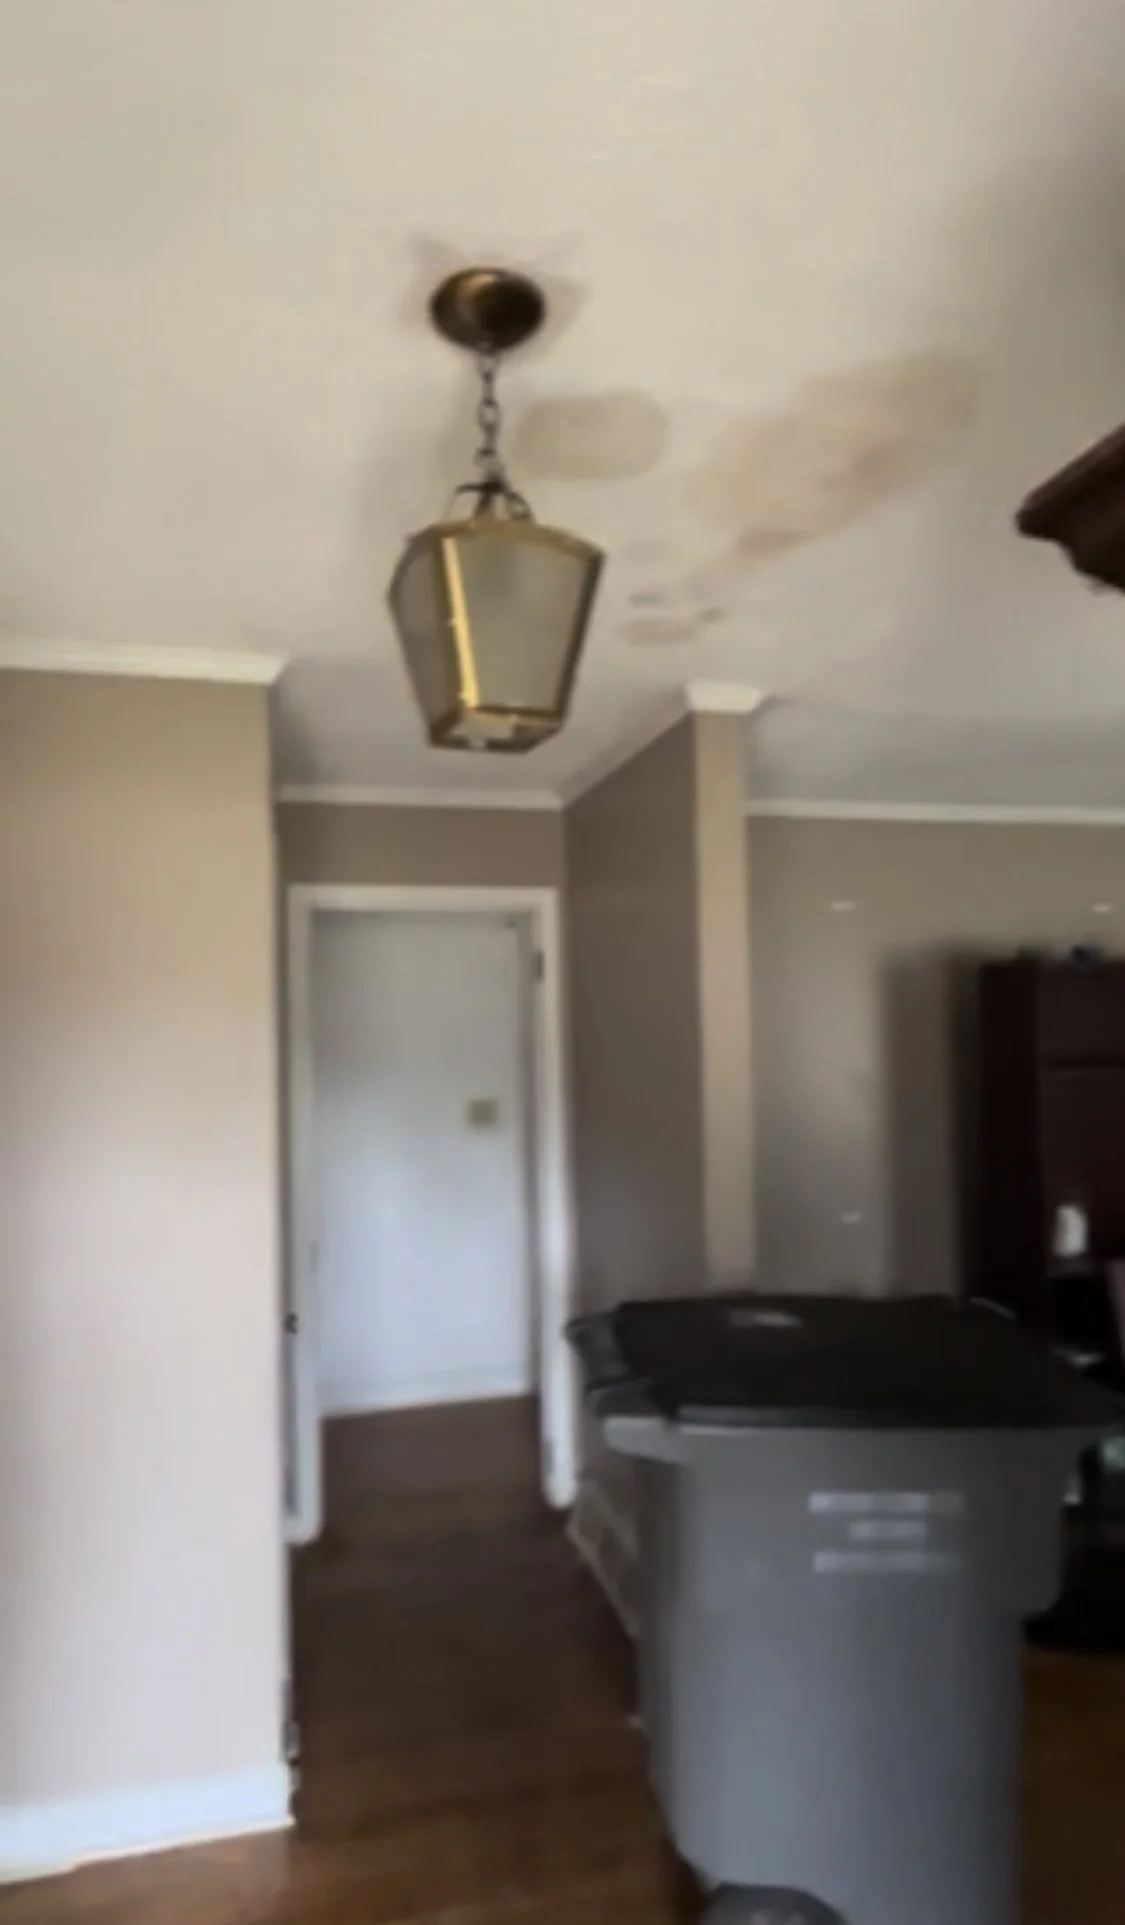
The living room is the room that started it all. Because of the giant hole in the floor we had to fix the floorboard and 5 joists. Which meant we needed a contractor. And if you need a contractor… well you might as well remodel the entire house (she says with a slight grimace). While I have thoroughly enjoyed this process - truly I have wanted to remodel a house for years - I didn’t want to remodel THIS house. Our plan was to purchase, clean and then sell. Nothing more. As you will see, that is not what ended up happening, but in a lot of ways a fun project we didn’t know we needed.
In this room we scraped the ceilings and painted everything white. We fixed the floorboards and joists. Instead of replacing with hardwood, we chose to install carpet which matches the carpet in the downstairs garage den.
Many people (our contractor and realtor) wanted us to replace the hardwoods with engineered hardwoods. Most flips use that product. It can be beautiful and high end looking. But we loved the real hardwoods and didn’t want to compete with them. Also, I thought it would look jarringly different. So Jonathan had the great idea to install carpet. In current day renovations, I think most people stay away from carpet except for the bedrooms. But it was the right call. It was cheaper than real hardwoods - check. Durable/soft/comforting for families - check. And I think it looks great with the overall style/feel of the house - check.
We used Michael’s Carpet Flooring for the carpet. We spent $1.44/sq ft + $.60/sq ft for the pad with moisture blocking. The color we chose was Pearl Glacier from Interstellar. It is a berber style carpet.


Entryway
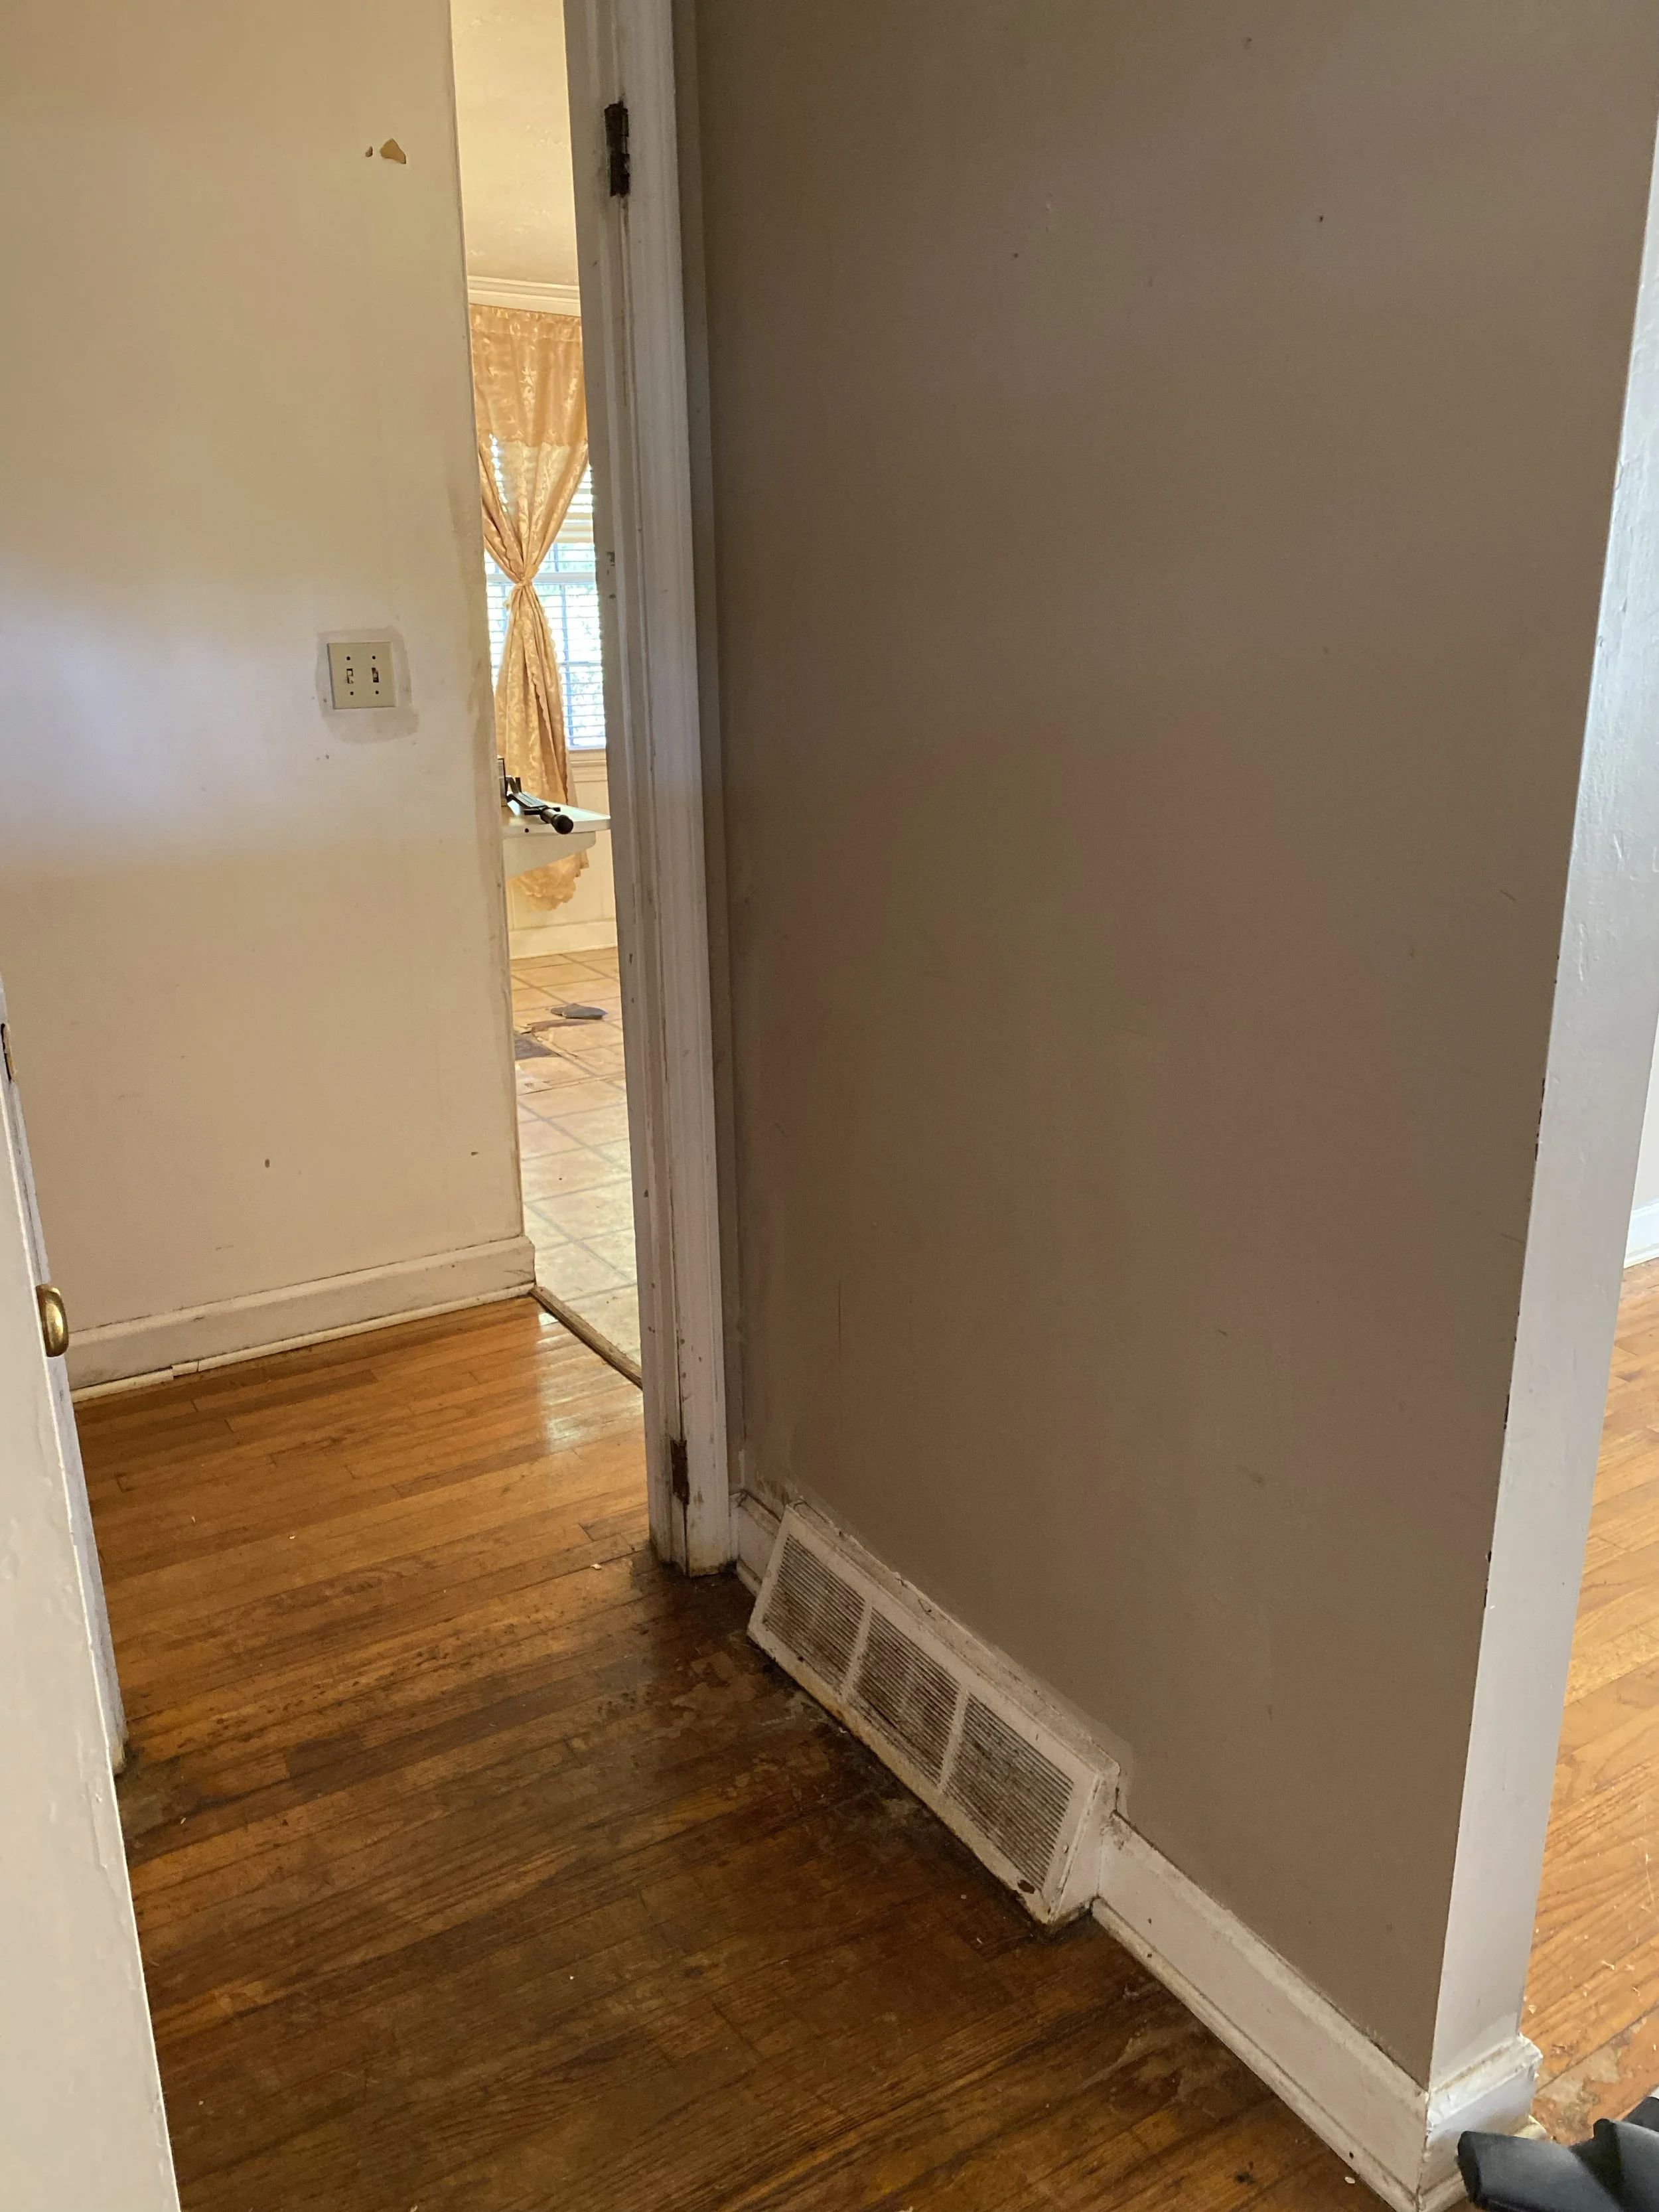
The entryway is your first impression of the home. Fortunately we were able to show off the beautiful refinished hardwood floors here. Also, we painted all of the surfaces white including the doors which I think makes a big difference.
We used Country Pine Minwax stain from Sherwin Williams. We tried several different stains but stuck with Country Pine. We think it is the perfect color to match the tile and carpet.
In one of the pictures you can see the teal door. Good choice? I think so, but more about that later.
We replaced most of the air vent grates, in the hallway and entryway we weren’t able to get a size that fit. So these were scraped and repainted.
We also replaced all of the lighting in the house. Both the light for the living room and entryway were purchased from Wayfair and were $77 and $35. Not terrible!


Hallway
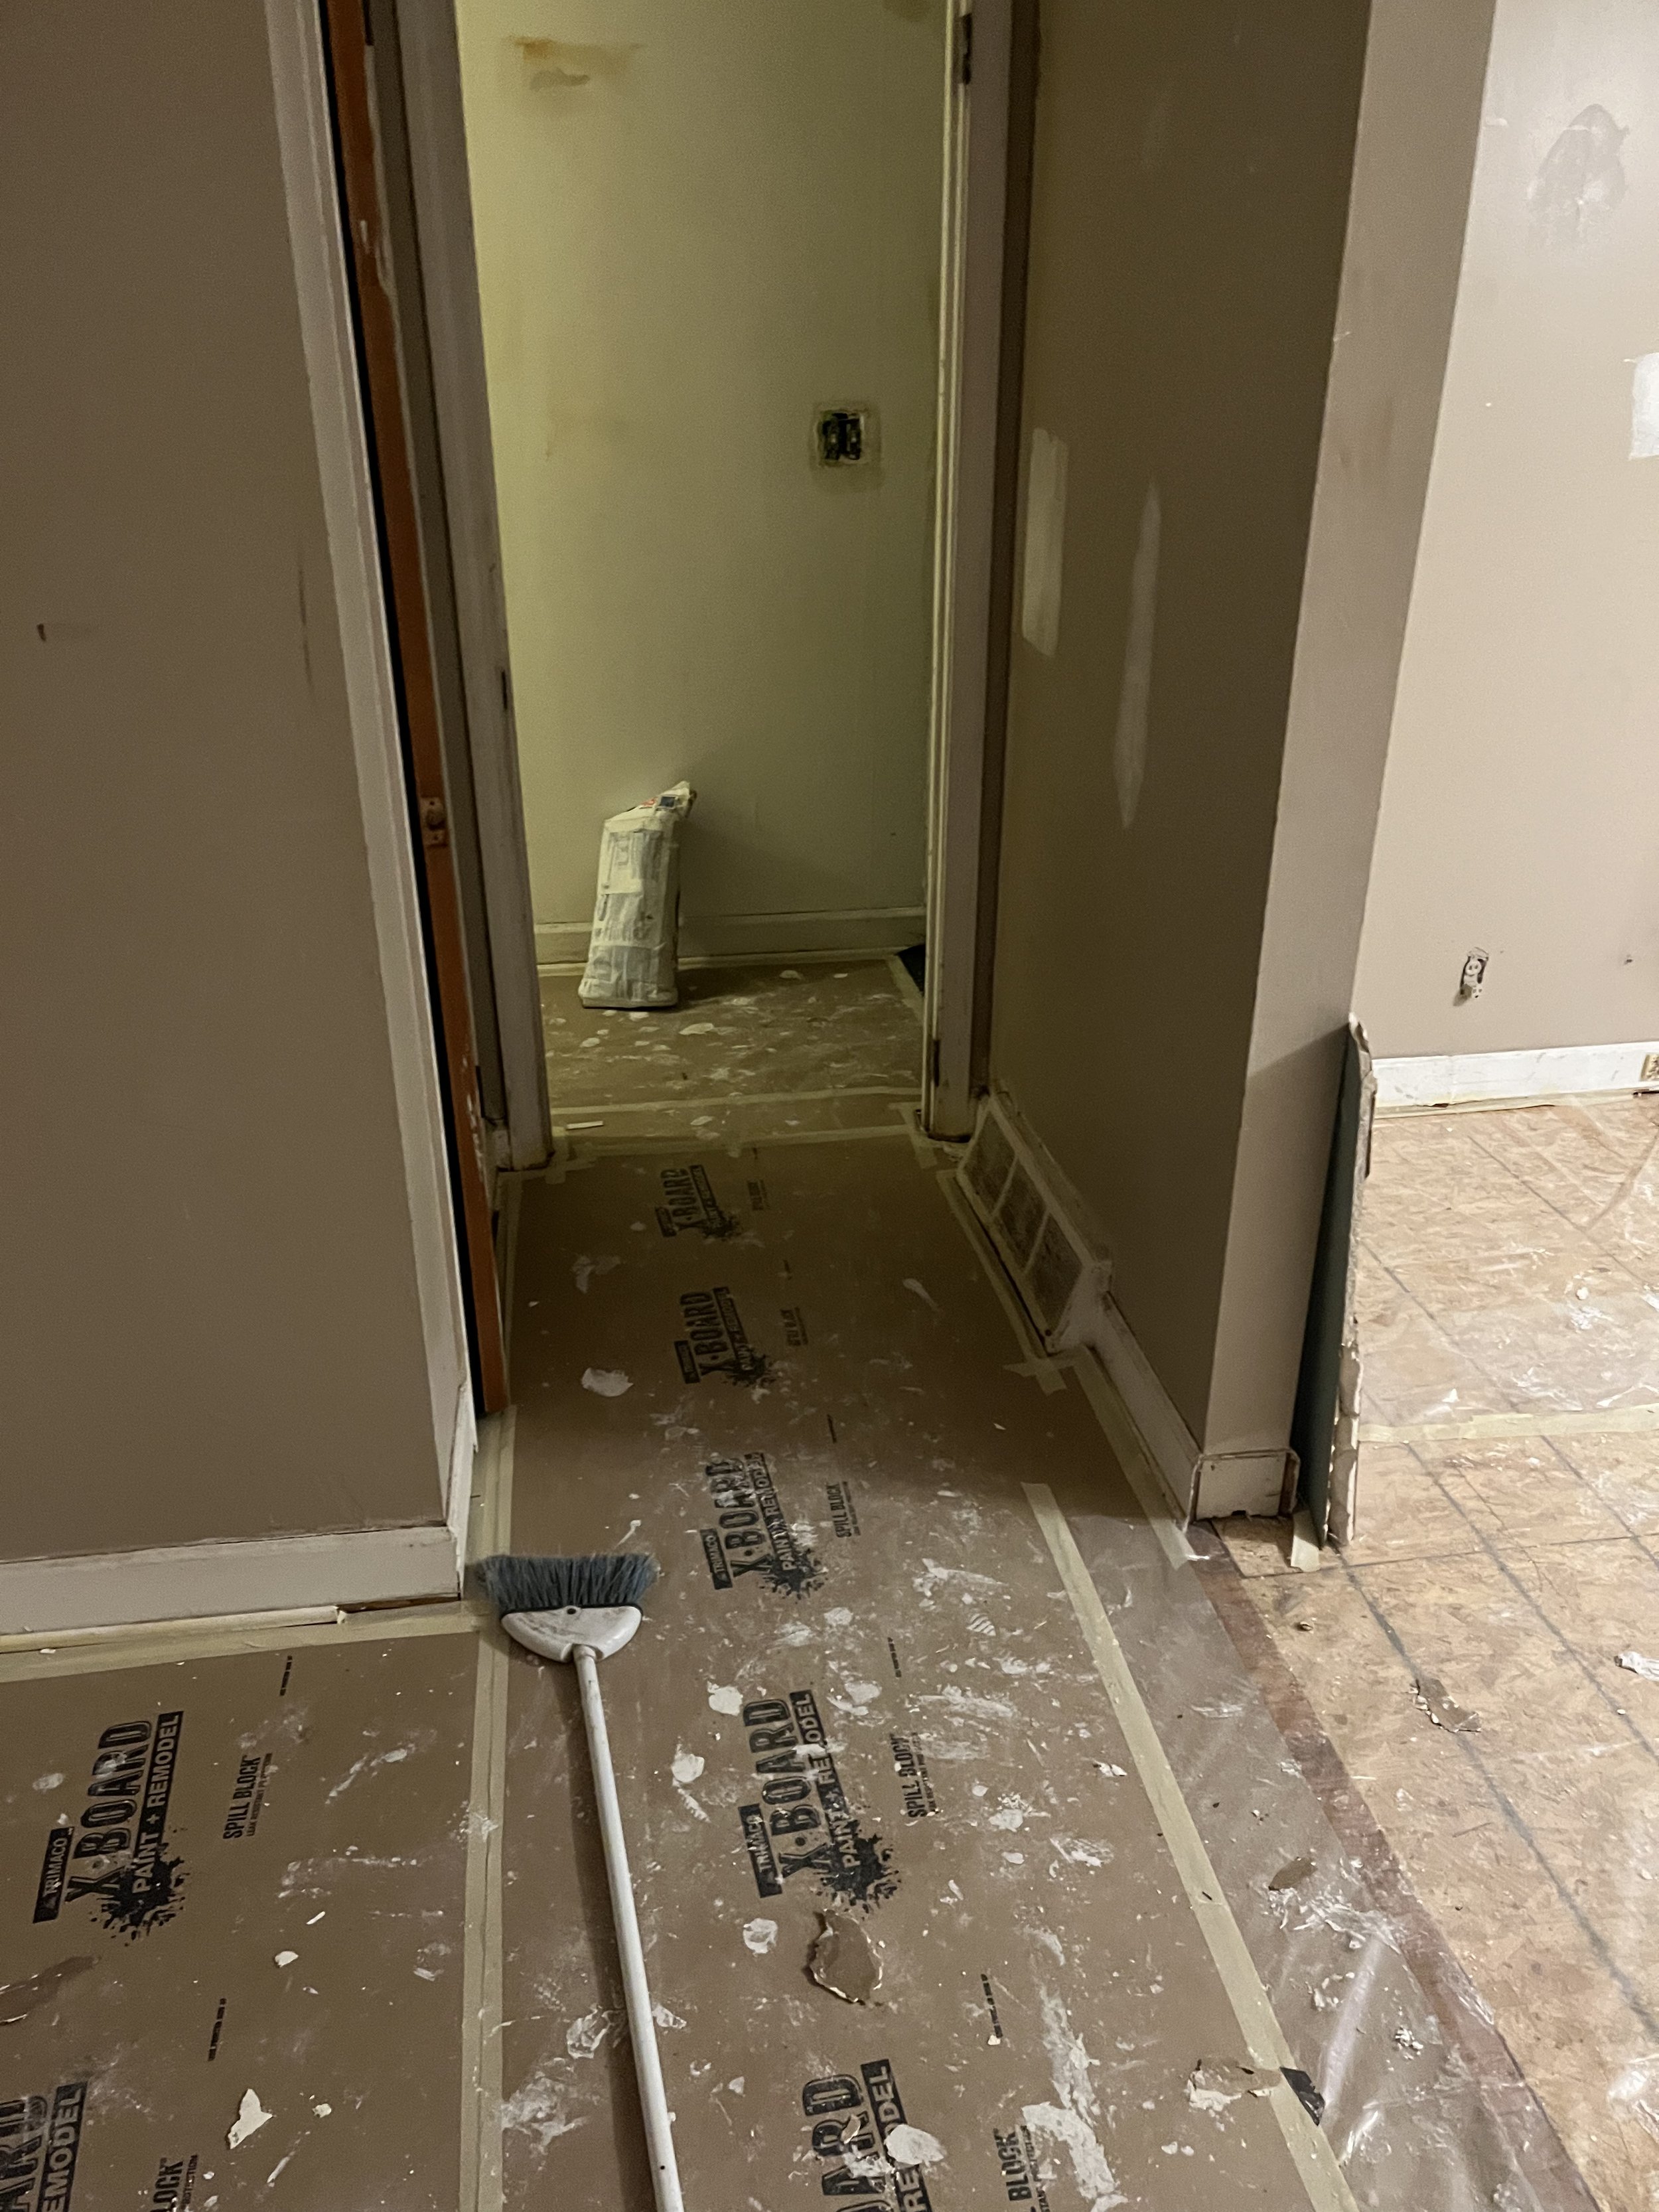
The hallway is pretty simple. New ceiling, new paint, new lighting, new large grate on the wall, refinished floors. We also fixed the attic stairs and removed all of the door bells.
We kept the doors throughout the house, but painted them all white. To make the doors feel nicer, we changed the handles. The cheapest I could find for this style of handle was on Amazon. At the time I purchased them for $16/. Not too bad!


Bedrooms
The bedrooms needed refinished floors and new paint. Jonathan pulled up the carpet in the second bedroom and it actually had the best floors underneath. We went back and forth on lighting for the bedrooms. Jonathan is a fan of fans ;) and so he won with his “most people like fans” argument. I found fans from Lowe’s for $53/ and joined the Fans Fan Club willingly. I think they are great additions.
Another improvement to the bedrooms were closet doors. We looked and looked for doors to fit in these spaces and couldn’t find them anywhere. We tried to even build custom doors and that was proving to be very cost prohibitive. I found sliding doors from Lowe’s for $196. Not cheap, but far cheaper than anything else we could find again for the size openings. We think they work just great!


Master Bathroom
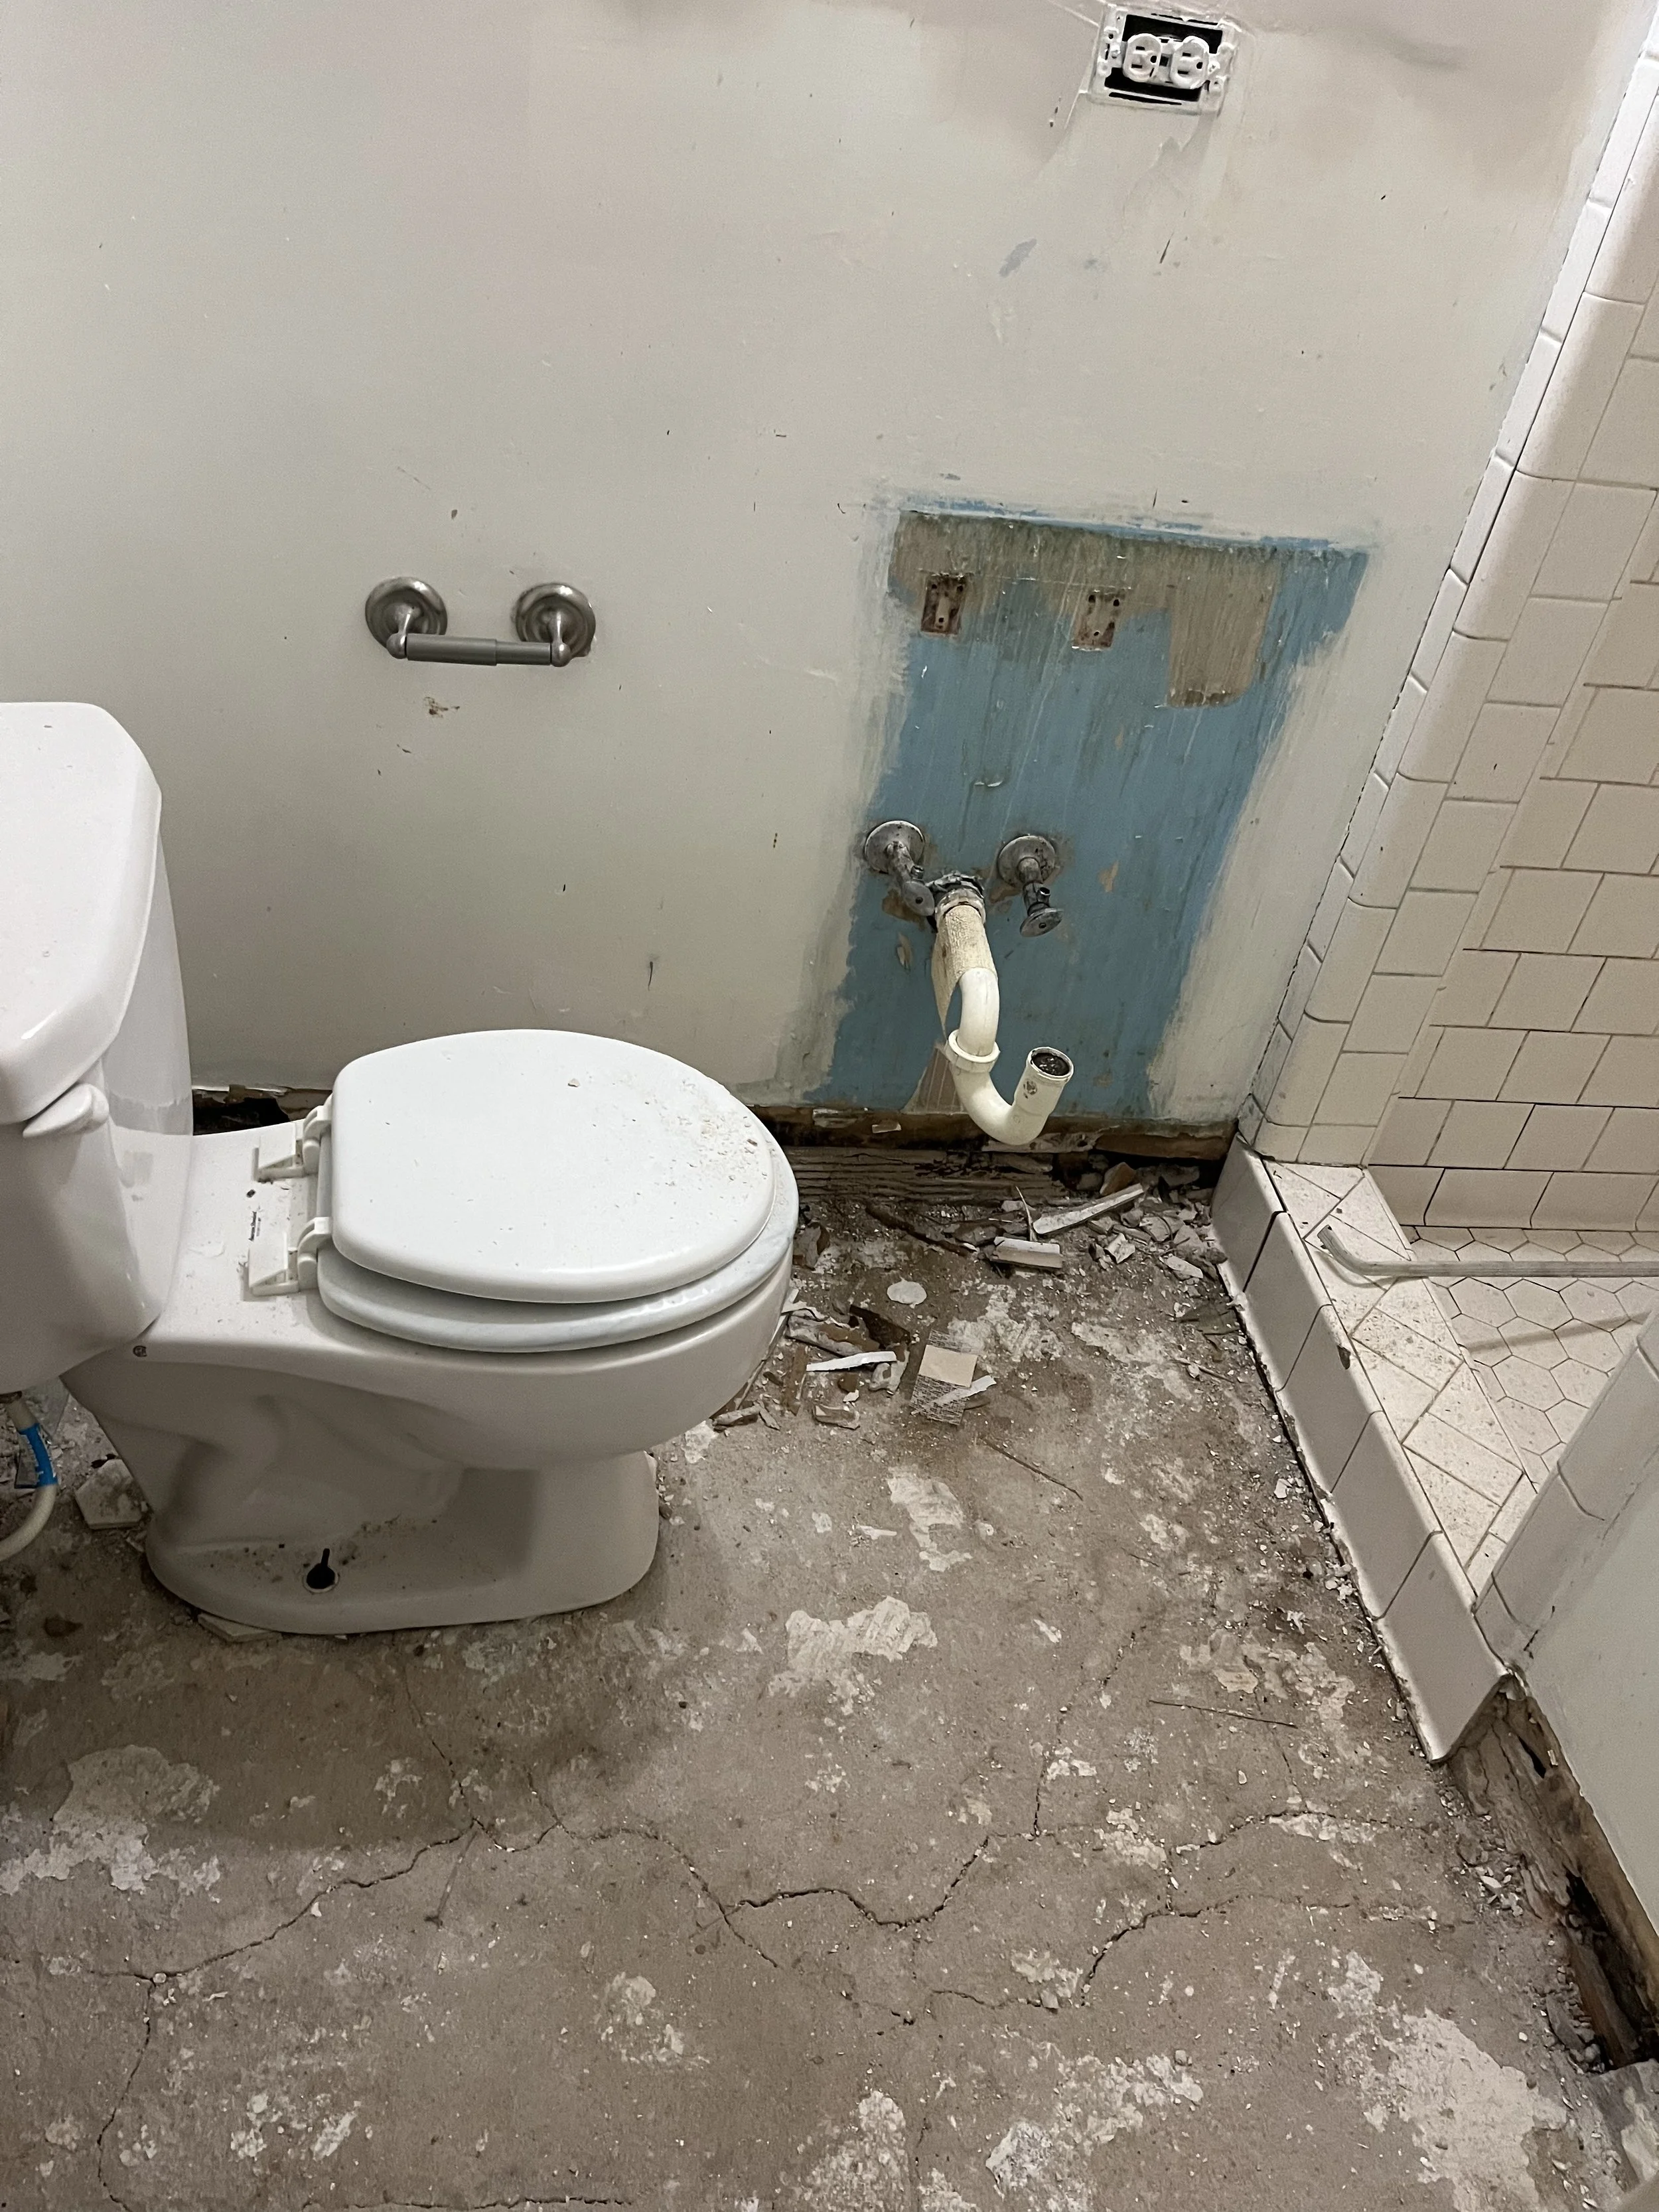
The Master Bathroom…. the master bathroom. Such a small, small bathroom. If we had $1,000,000 we would have completely redone this space. I’m not sure where we would have gotten the space, but this bathroom needs to be at least twice as big. But alas, we didn’t have it in the budget.
Still we could make it pretty and pretty we accomplished. We knew we were keeping the tile in the shower. I don’t hate vintage tile. I know “most people” might not like it but again, budget. The configuration of the bathroom needed to be changed, so that meant new floor tile. Yippee - a shopping trip! This was my first fun/surreal part of the project. Walking through the aisles, looking at all of the tile was so fun to me.
I brought home several tile samples from Floor & Decor and talked Jonathan into grey penny tile for the floor. It was more expensive at $2.99/sq ft but I knew it would be worth it, and it is! It is a small space and adds some interest to the floor, which goodness that room needs something interesting! Did I say that it was small?! We used grey tile for the floor because the white made the shower tile looks very dirty and yellow.
For some reason the previous owners had the vanity right in front of the shower entrance. We were able to make the bathroom feel slightly bigger by not obstructing the pathway to the shower. We moved the orientation of the toilet to allow for more space in front of the shower as well. We bought a premade vanity from Lowe’s ($133) with the sink combined and offers a little counter space and storage underneath. From Amazon, we purchased new vanity lights and a mirror that both match the ones in the hall bath.
Finally we regrouted the shower with white grout to freshen it up a bit and added a new shower head. New baseboard, new toilet, new paint, new can light in the shower, the list keeps going. All in all, the master bathroom in materials cost us roughly $580. Not terrible!


Hall Bathroom
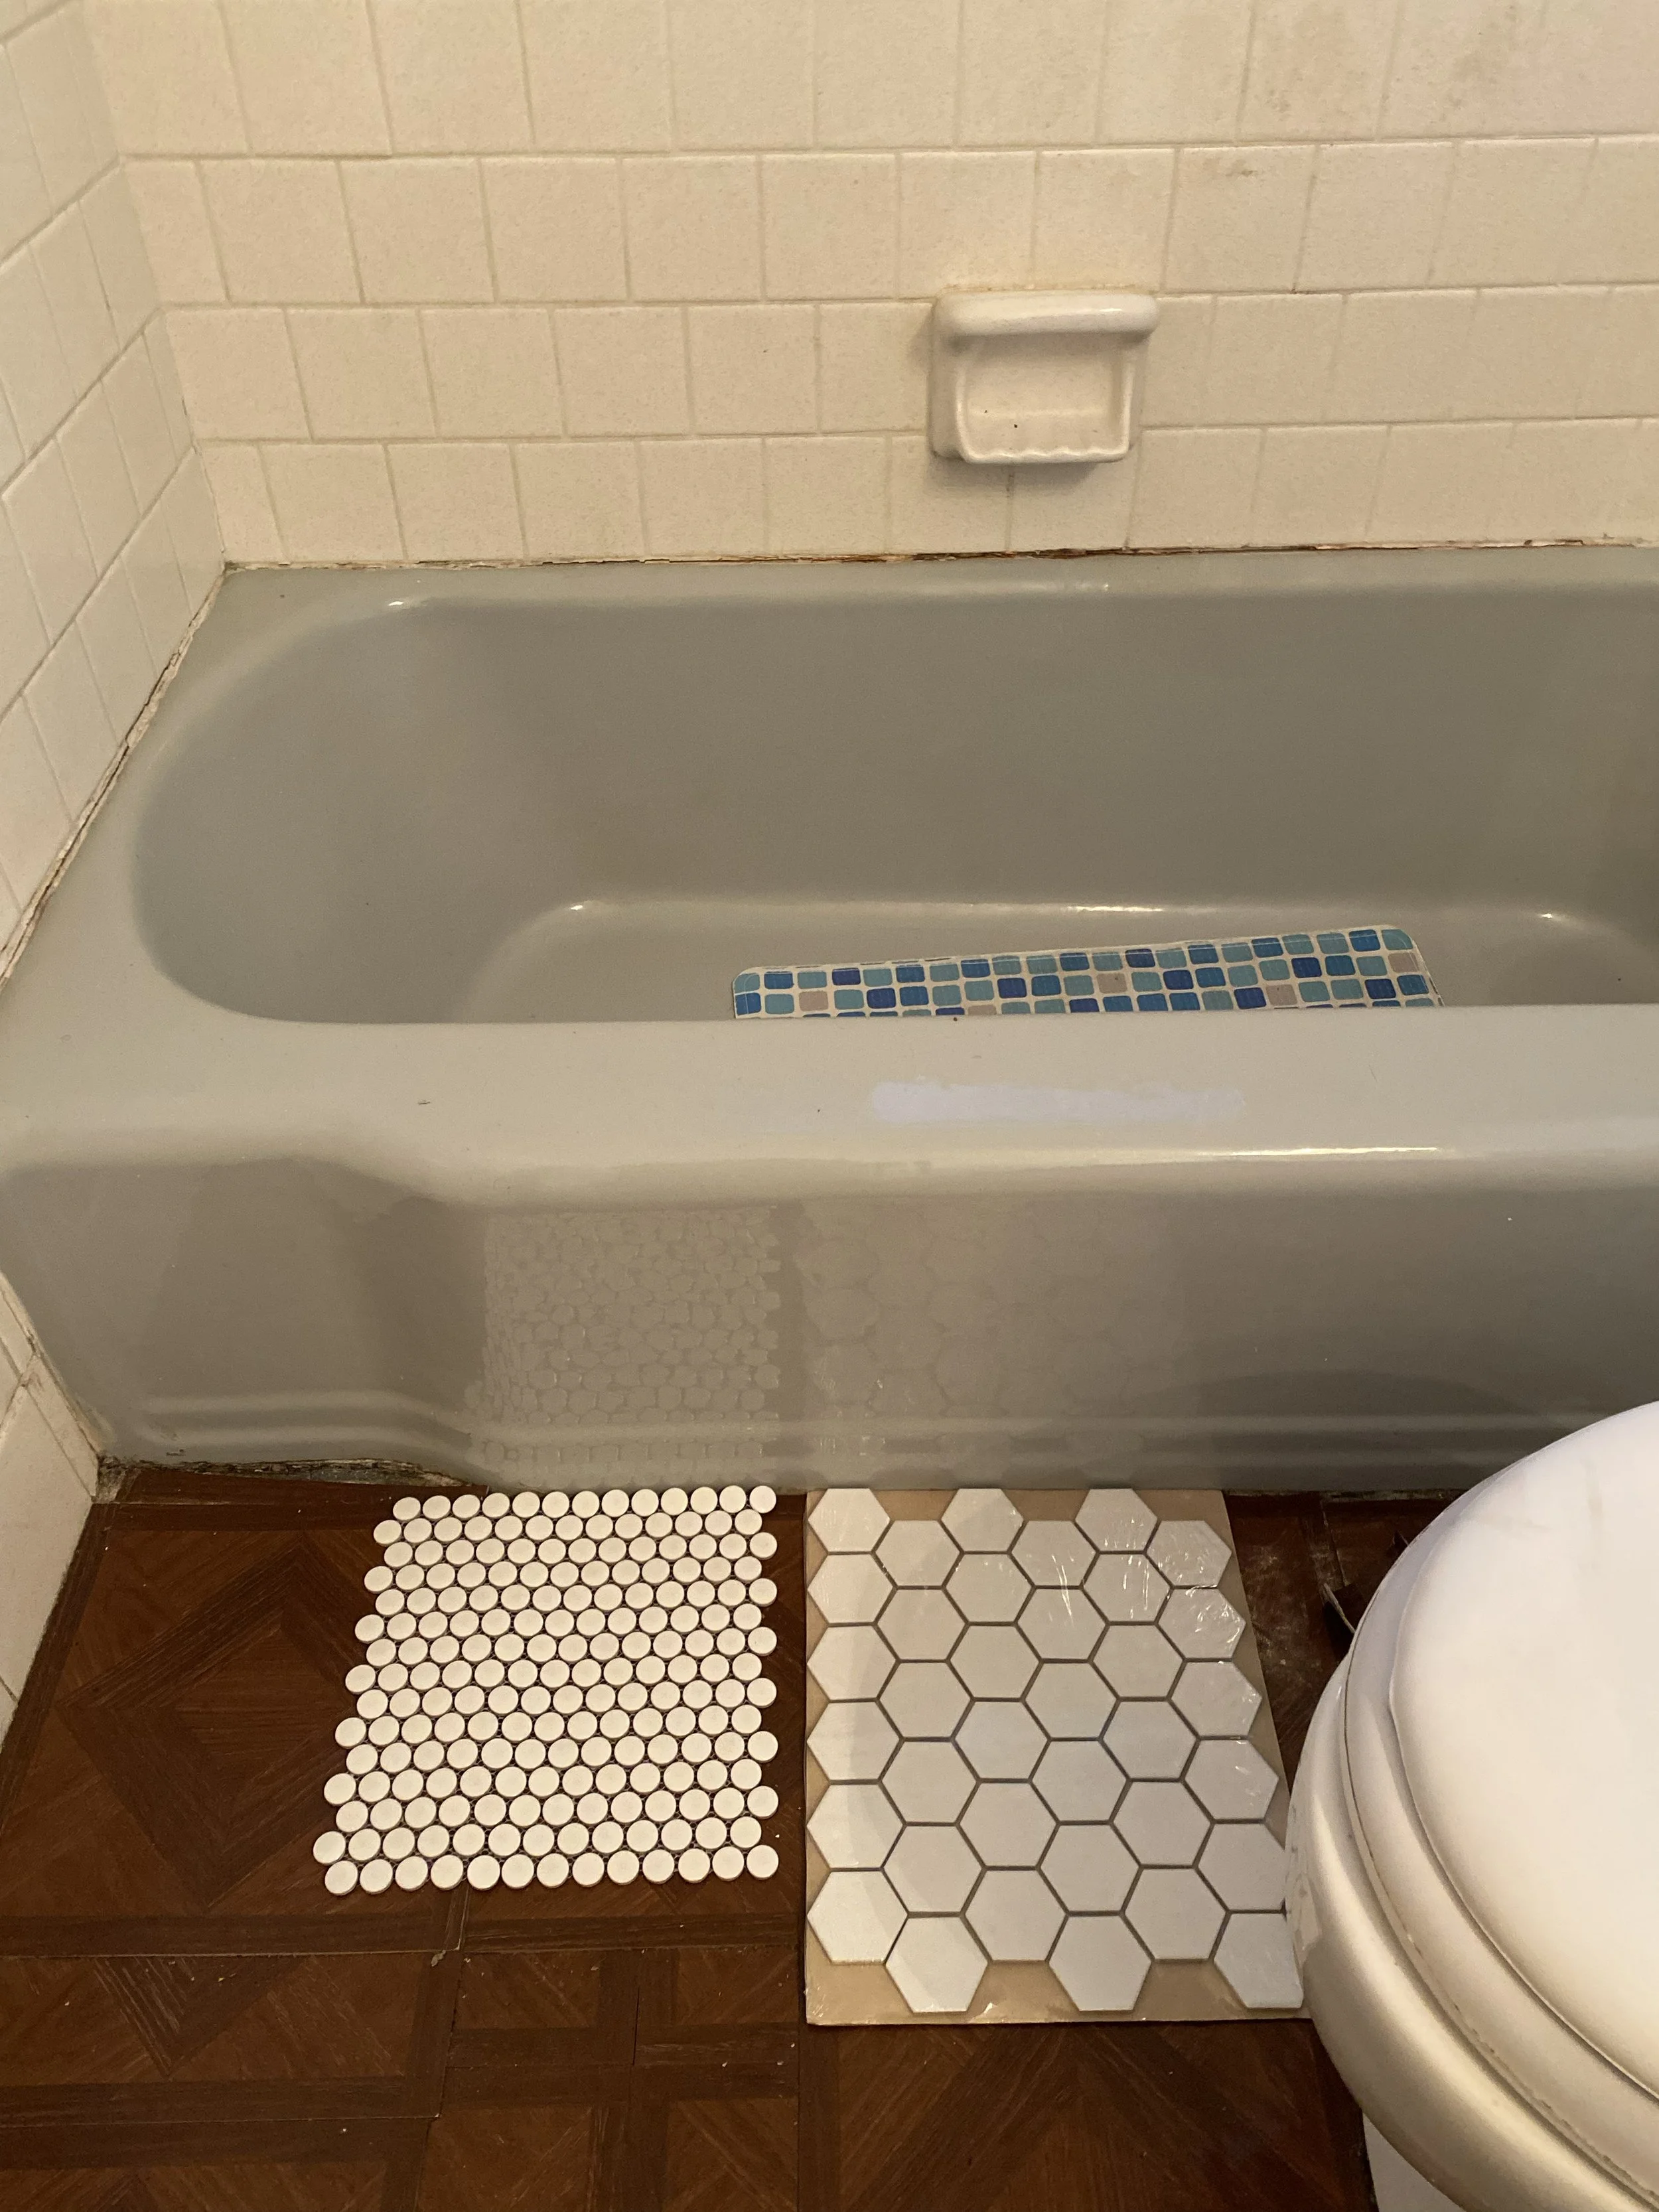
This room might be one of my favorite transformations. Of the two bathrooms, this one is the largest and we wanted to keep it feeling as large as possible. We wanted to give the next homeowners plenty of mirror and counter space and we gave them as much as we could. We kept the layout the same, but the floor still needed replacing. There were layers and layers of vinyl tile on the floor which we removed and added beautiful hexagonal tile ($2.89/sq ft). Hexagonal tile might be my favorite tile for floors. We have some in our home and I think it must give strong mid century vibes. Who knows, but I love it.
We also decided to keep all of the floor grout in the house the same color. It was kind of tricky because the greys in the master bath and kitchen are slightly different, but I think we found something that works. And the grey grout with the white hexagons just looks stunning - at least I think so! I was able to use white tile for this floor because it butted up against the grey tub and didn’t make the shower tile look dingy.
Speaking of the tub… I just love it. Look how elegant the grey looks with the white walls and white floor tile. Yes we could have put in a whole new tub and shower. But I’ll take the charm of these original features any day. Maybe with $1,000,000 we will do something different next time.
This bathroom was a little more expensive with materials around $1100 with everything larger in this space. But new paint, toilet, vent, lighting, mirror, vanity, flooring… I’m not sure I would change any of it.


Kitchen
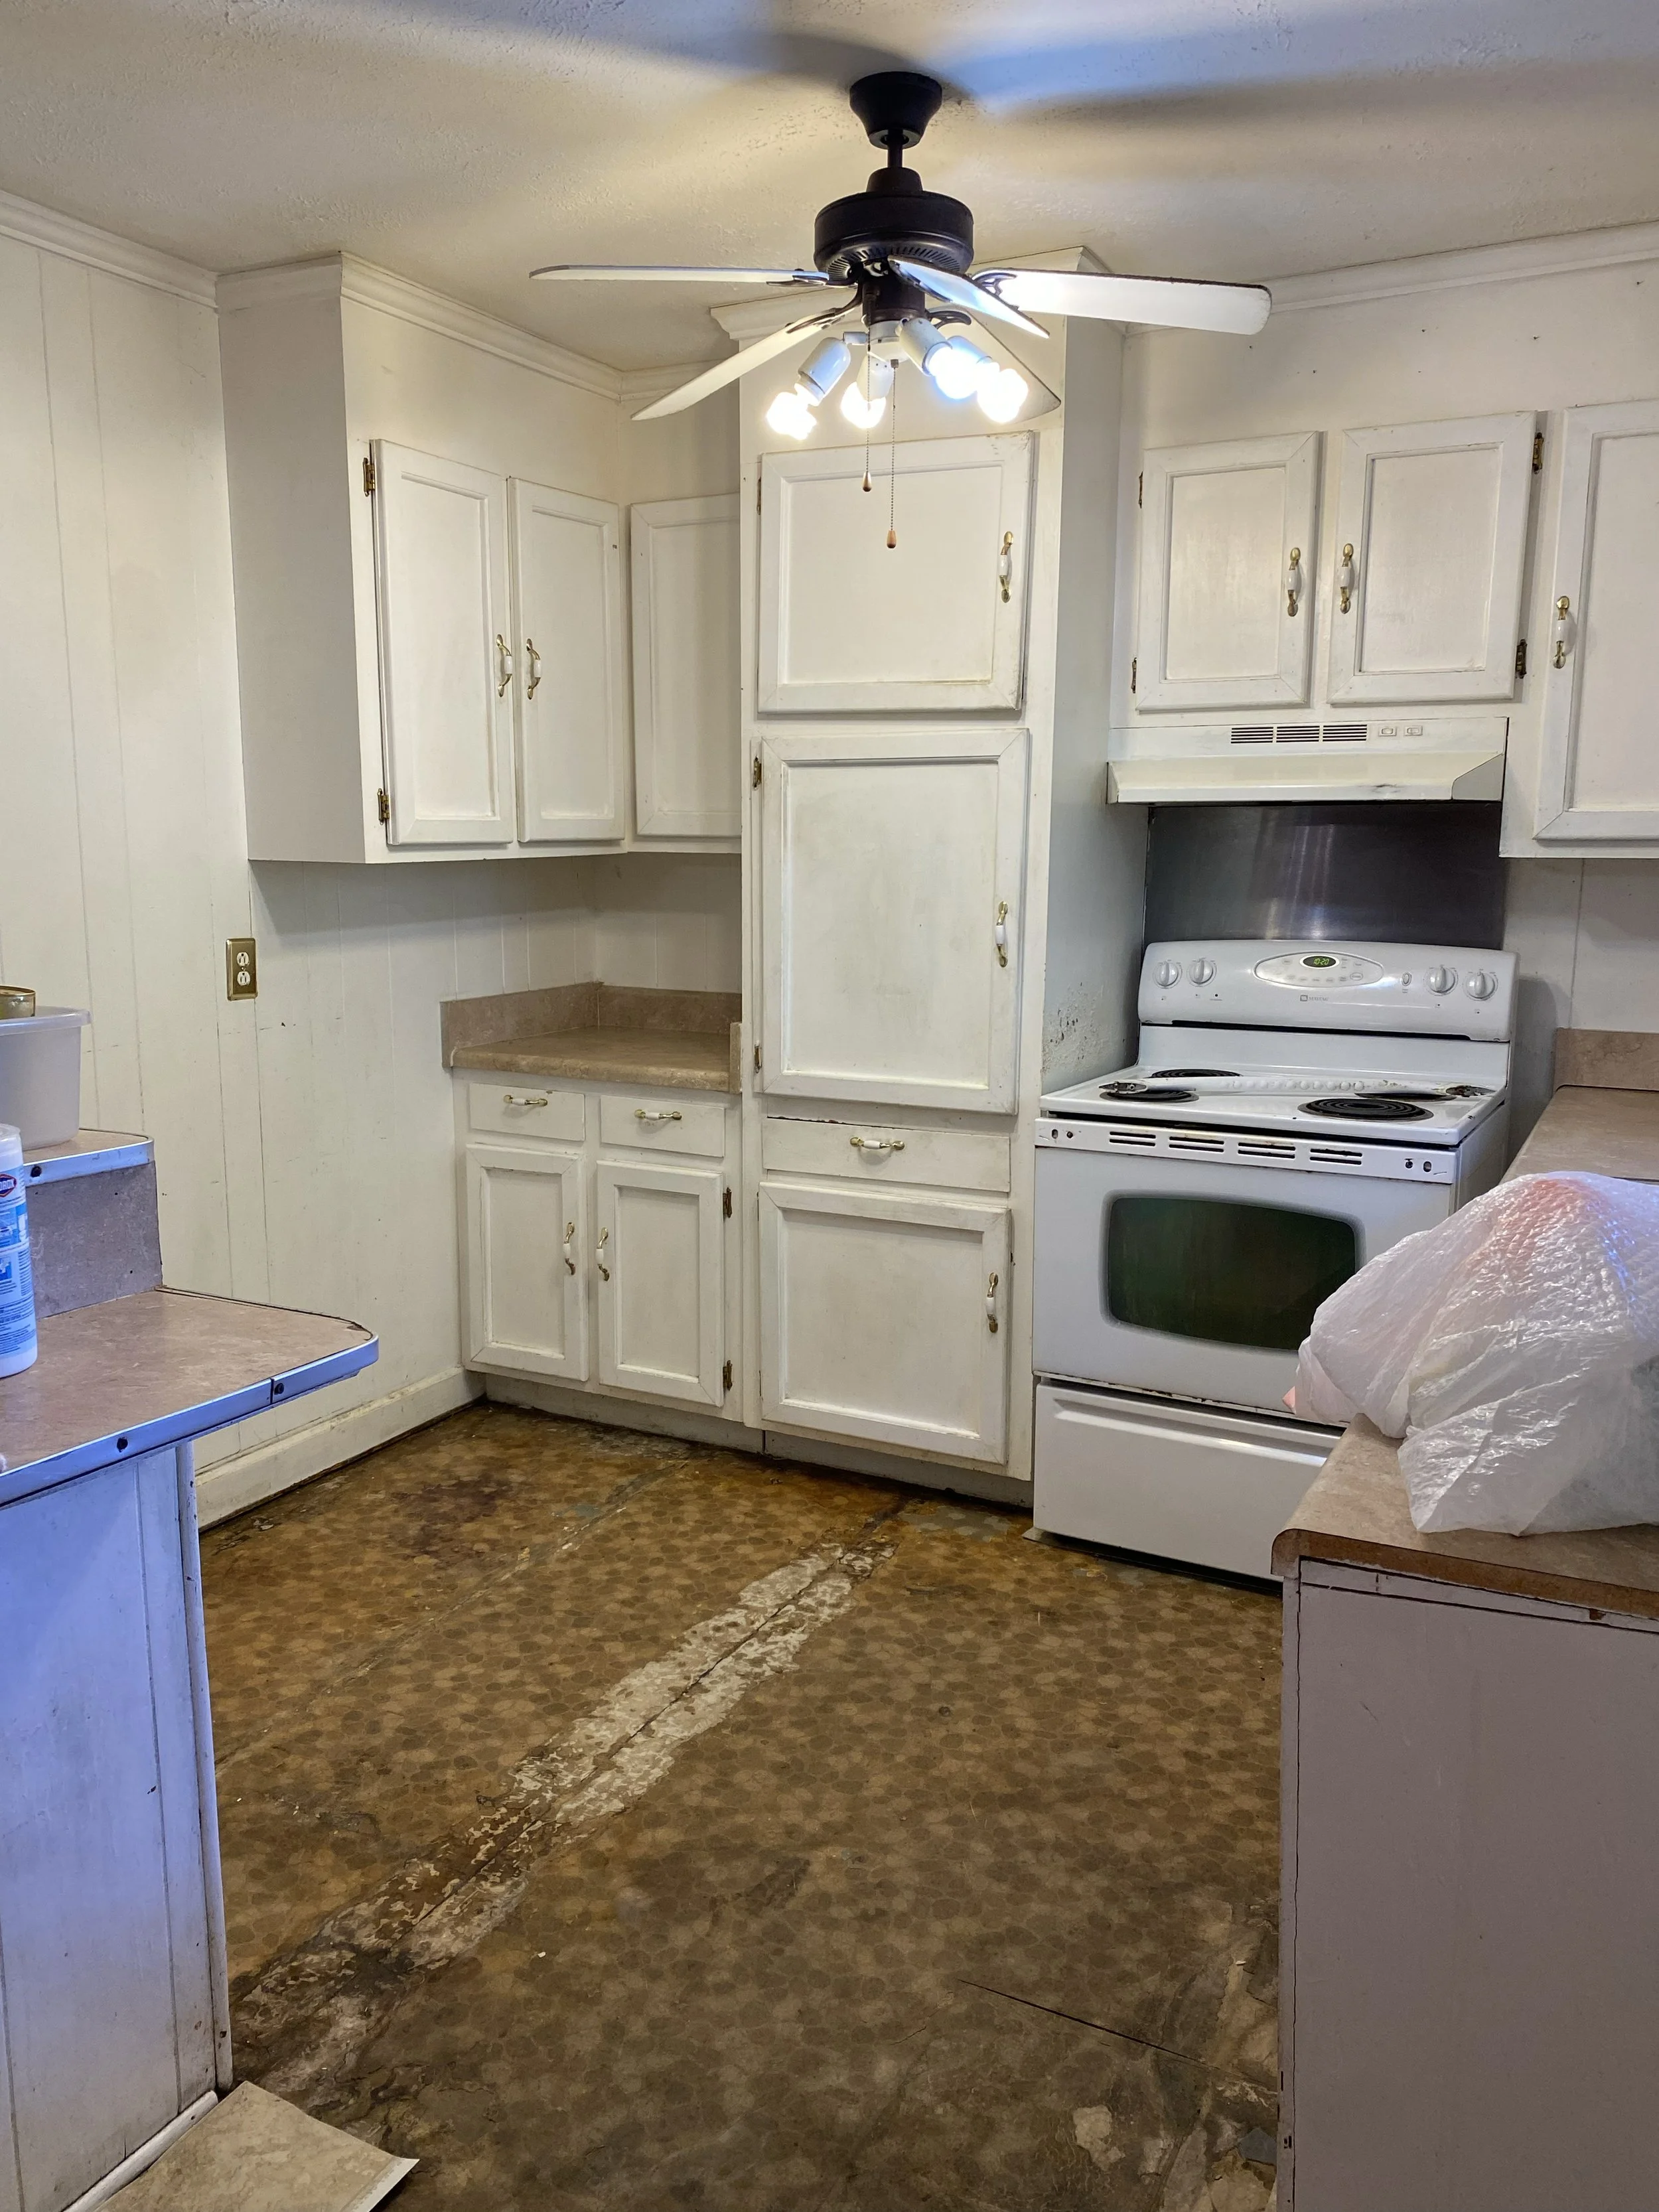
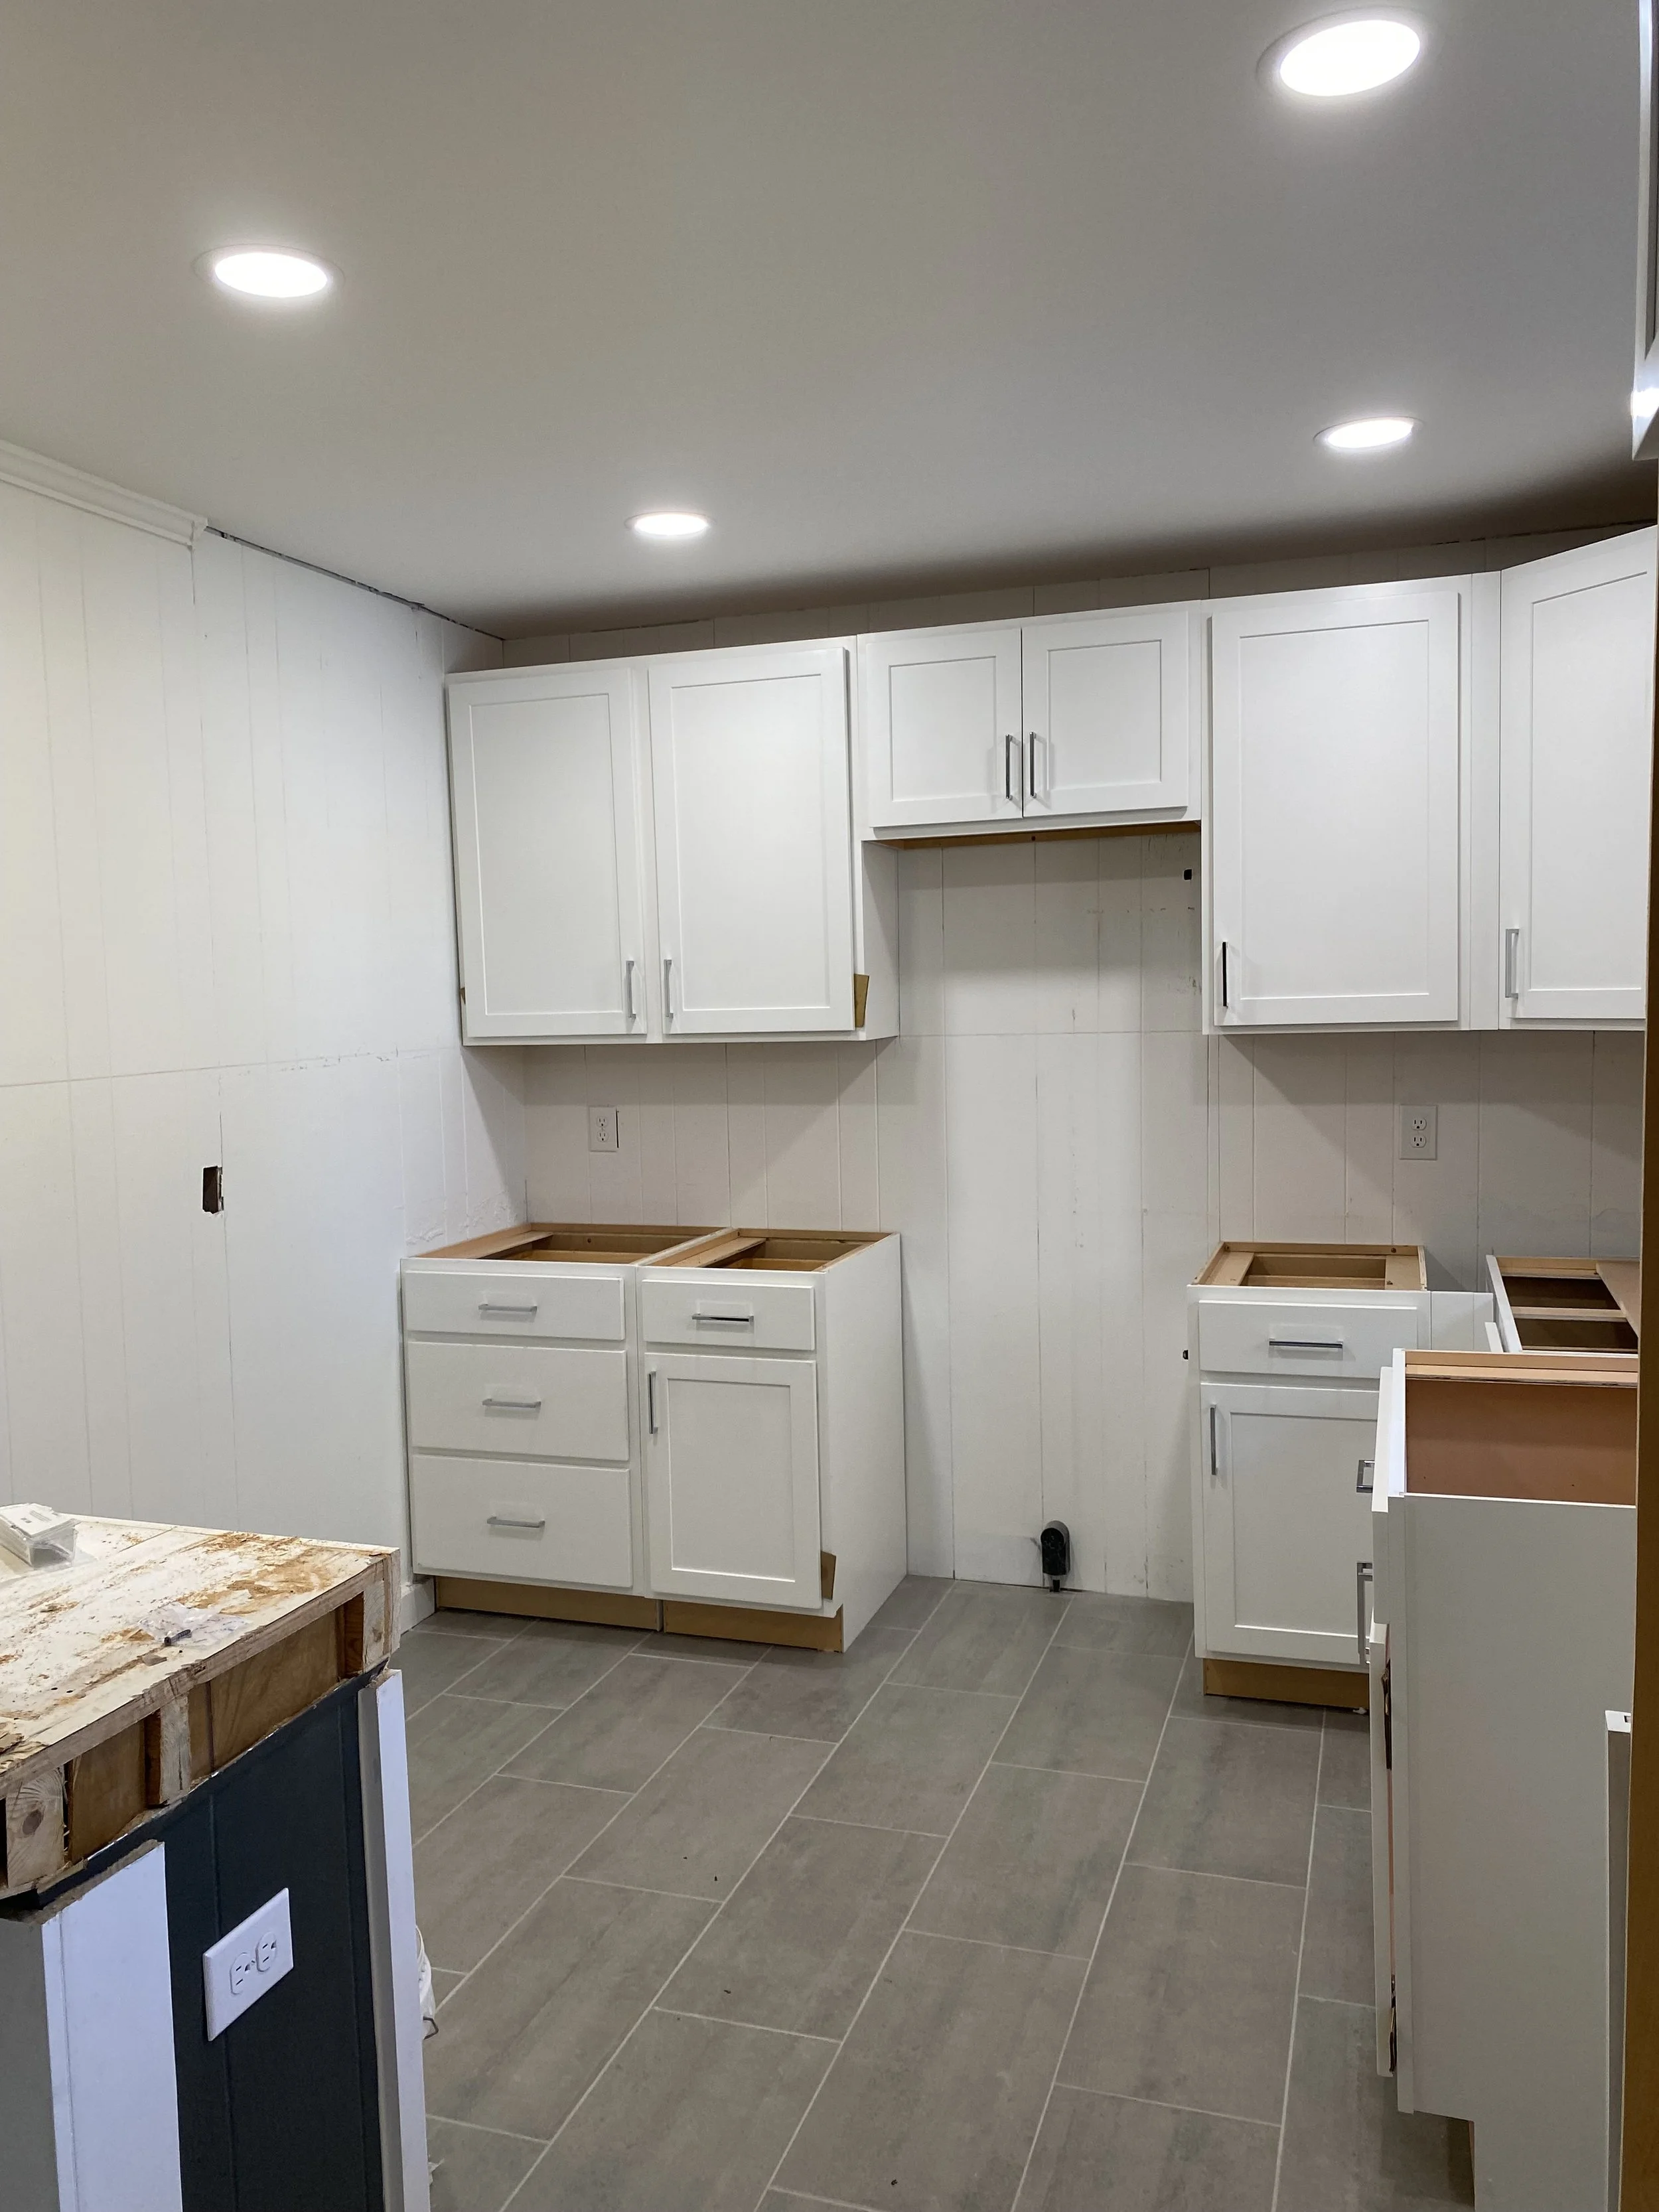
The kitchen pushed me over the edge. I was ready to fix the hole and move on. But I couldn’t figure out how to make the kitchen look “clean”. I felt like I actually didn’t have the skills to complete this job and that reality was slightly overwhelming. So while renovating the whole house seems like a lot more than cleaning, I felt like we could actually do a good job at renovating and I think we have!
We decided to keep the peninsula and paint it a different color than white which I think ended up being a great idea. We saved money by not having to purchase those cabinets and it gives the homeowner great counter space with the option to have stools on one side. We used SW 7062 Rock Bottom from Sherwin Williams and thankfully it goes with the floor and the countertops (insert sigh of relief).
I think I have said before that we completely changed the electrical in the house. All new outlets, lights, everything. In the kitchen we added 5 can lights and a pendant light over the peninsula. I think lighting really makes a huge difference and it definitely did so in this house. I went back and forth on the pendant light but ultimately chose something simple and hopefully crowd pleasing from Wayfair ($54).
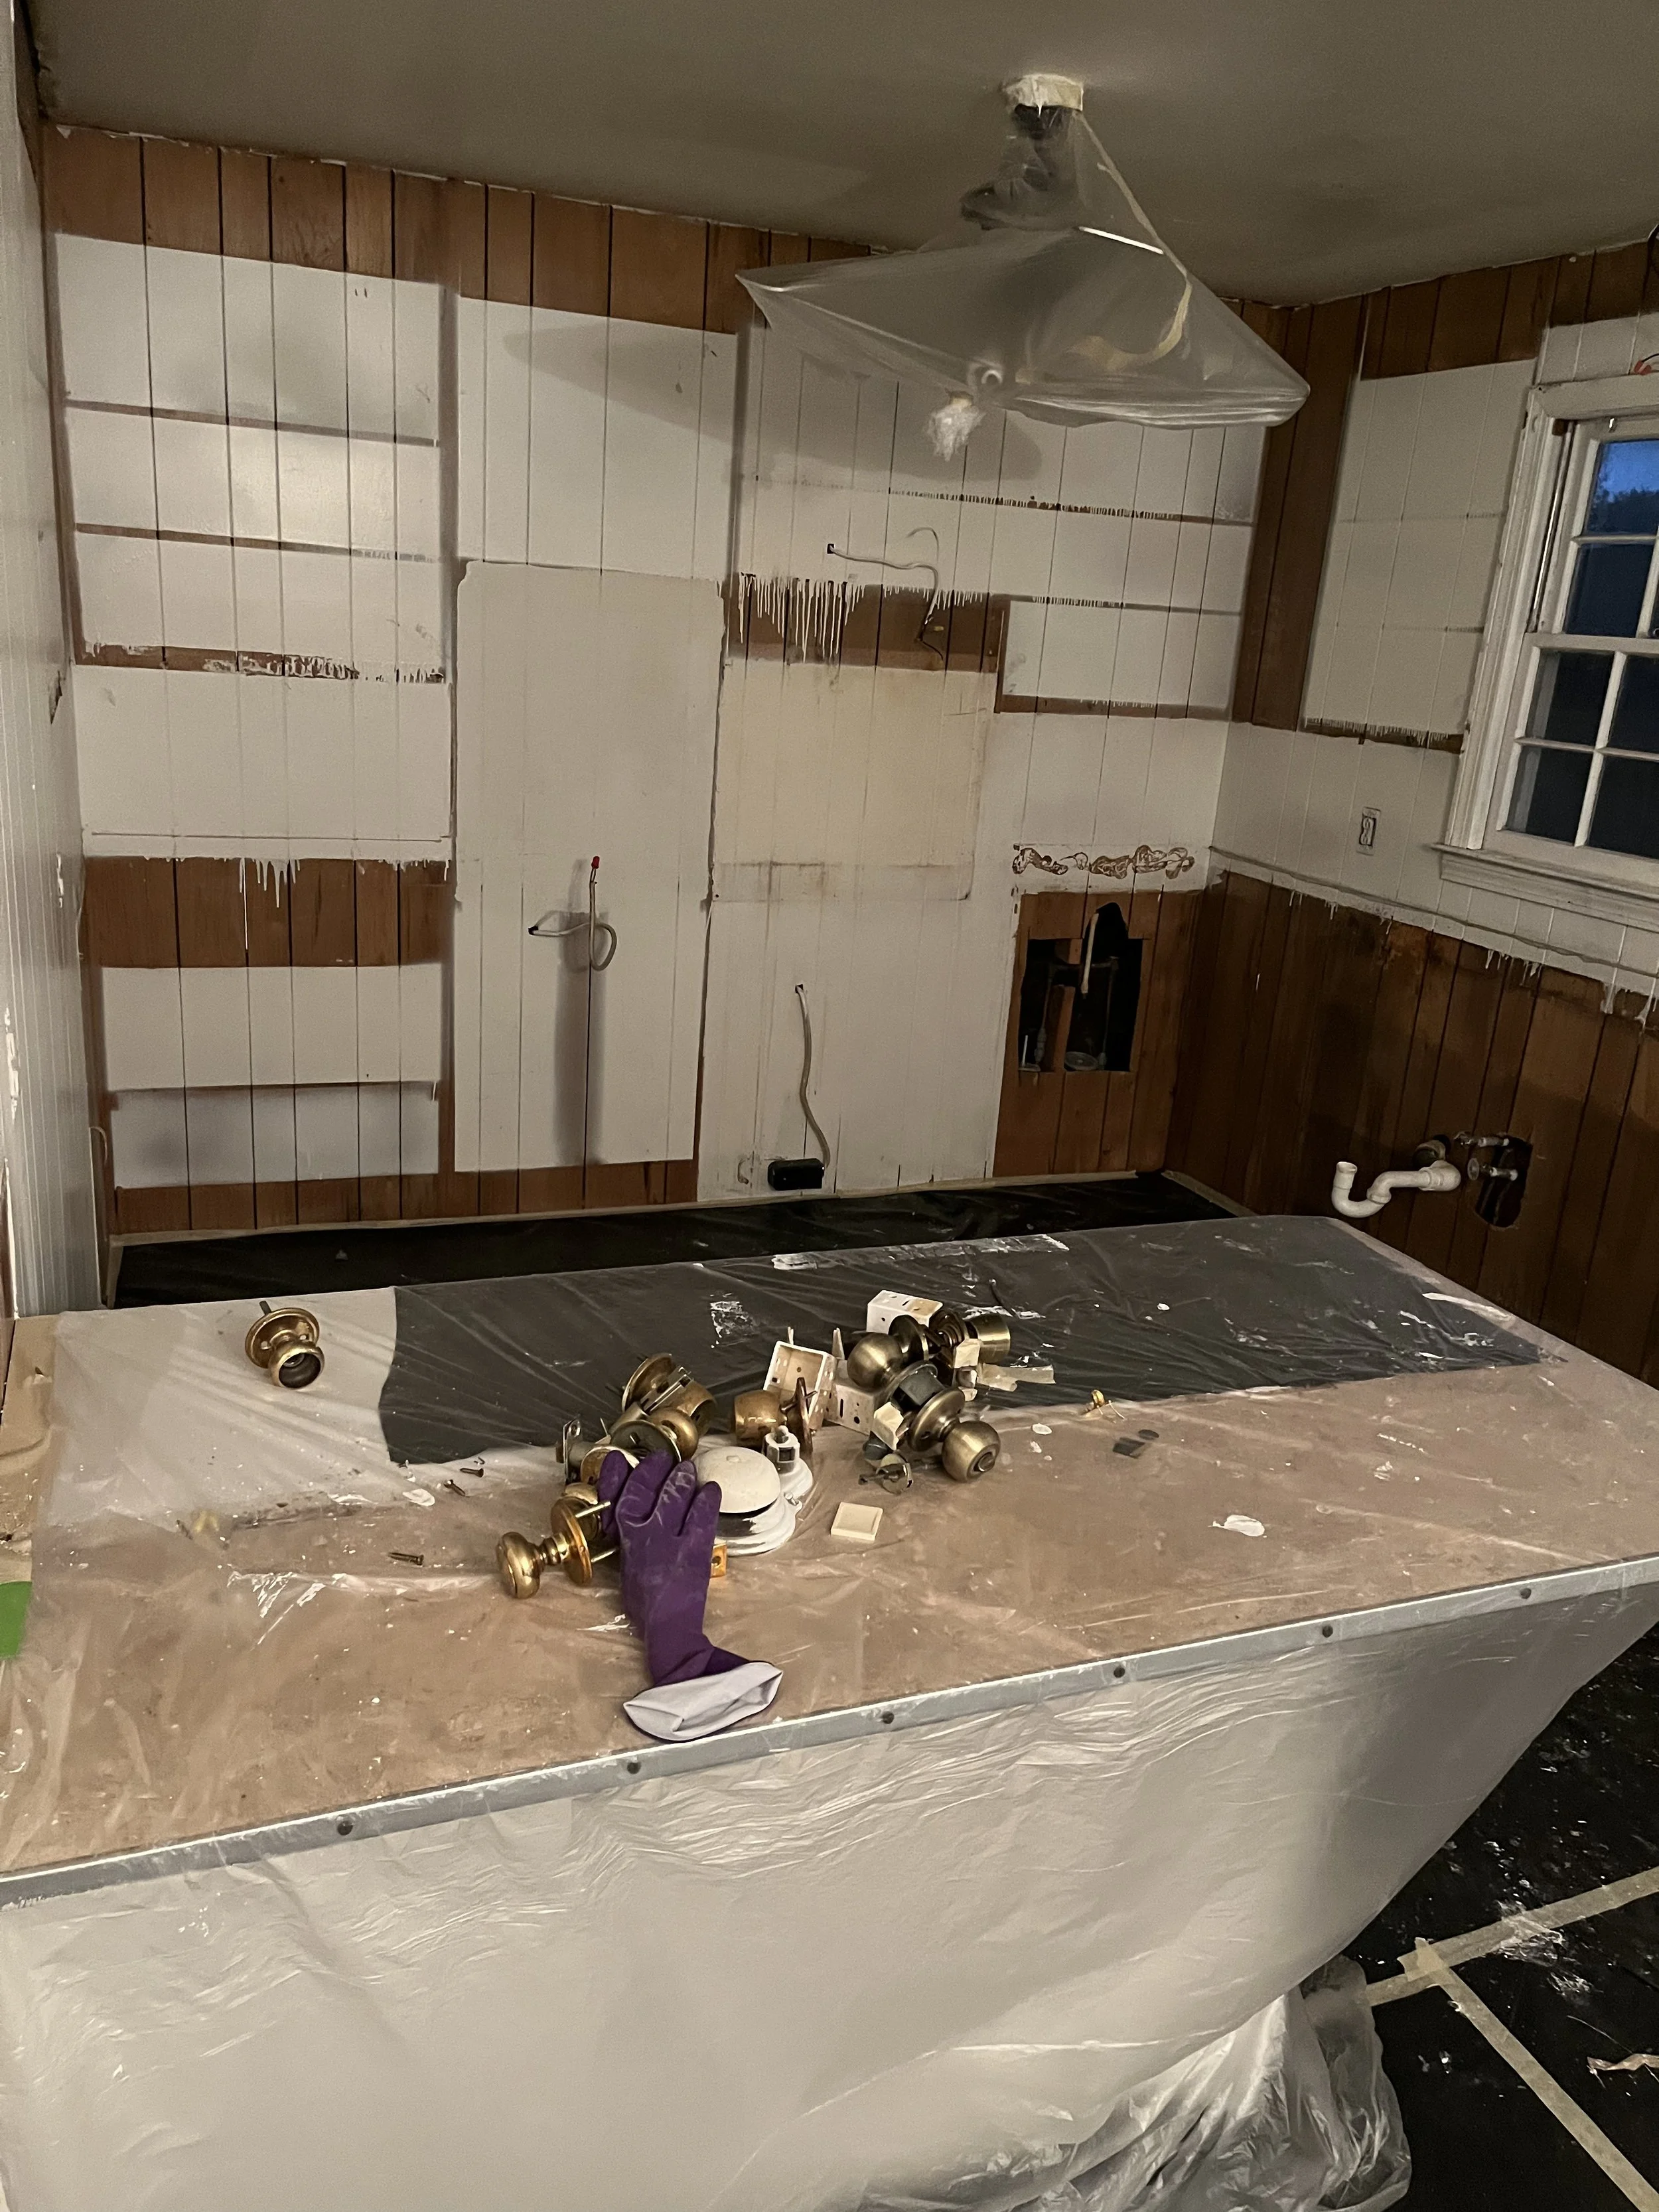
Left wall… that was a conundrum. We thought about wallpaper. We thought about trying to take it down and putting up sheetrock (well, kind of thought about it). If we were to do it over again, we would have removed all of the paneling in the house and replaced it with sheetrock in the beginning. But by the time we really considered it, the new cabinets were installed and it was kind of too late. So Juan had the idea to paint the wall to match the peninsula and it was a great idea. The imperfections are still there, but they are kind of masked by having something different than white. Very thankful.
Speaking of cabinets, we used Lowe’s for our cabinets. They were very easy to work with and came in about a month. Fast! If we were to do this part over again, we would have bought cabinets that went to the ceiling. I tried to save money by getting smaller cabinets and thought we could add a soffit at the top to make it look like they went to the ceiling. But I think the easiest, maybe more cost effective, option would have been to buy the tall cabinets from the beginning. Next time.
Juan put us in touch with Sergio who installed our countertops. We picked out the granite from GK Granite in Cowpens. Because of cost we needed to pick a Level One granite color and I went with Ornamental White. It is busier than quartz which was both of our preference, but money is king and we needed the counters to be as cheap as possible. At $1874 including installation, I think we picked the right countertop.
Our final project for the kitchen was the backsplash. This was an additional project and cost an extra $200 for materials and $1200 for labor. We feel like it was worth it. Tile was purchased from Floor and Decor ($3.99/sq ft) and I chose white grout so that the backsplash added texture but wasn’t distracting.


Den
The den is connected to the kitchen. Well, I call it a den but it might be more like a dining room. We changed the lighting in here as well as scraped the ceiling and painted everything white. Because the two rooms are connected we needed to use the same flooring for both spaces. As with the hall bath there were layers and layers of vinyl tile that needed to be removed. We wanted the tile to coordinate with the rest of the flooring in the house: the bathroom tile, carpet and hardwood.
We went with a concrete looking tile that was a little larger but not too large. Floor & Decor came through again and we purchased these 12x24 Concrete Gray tiles at $1.49/sq ft. Like I said before, we used the same grout for this tile as for the bathrooms which helped with cost.


Downstairs
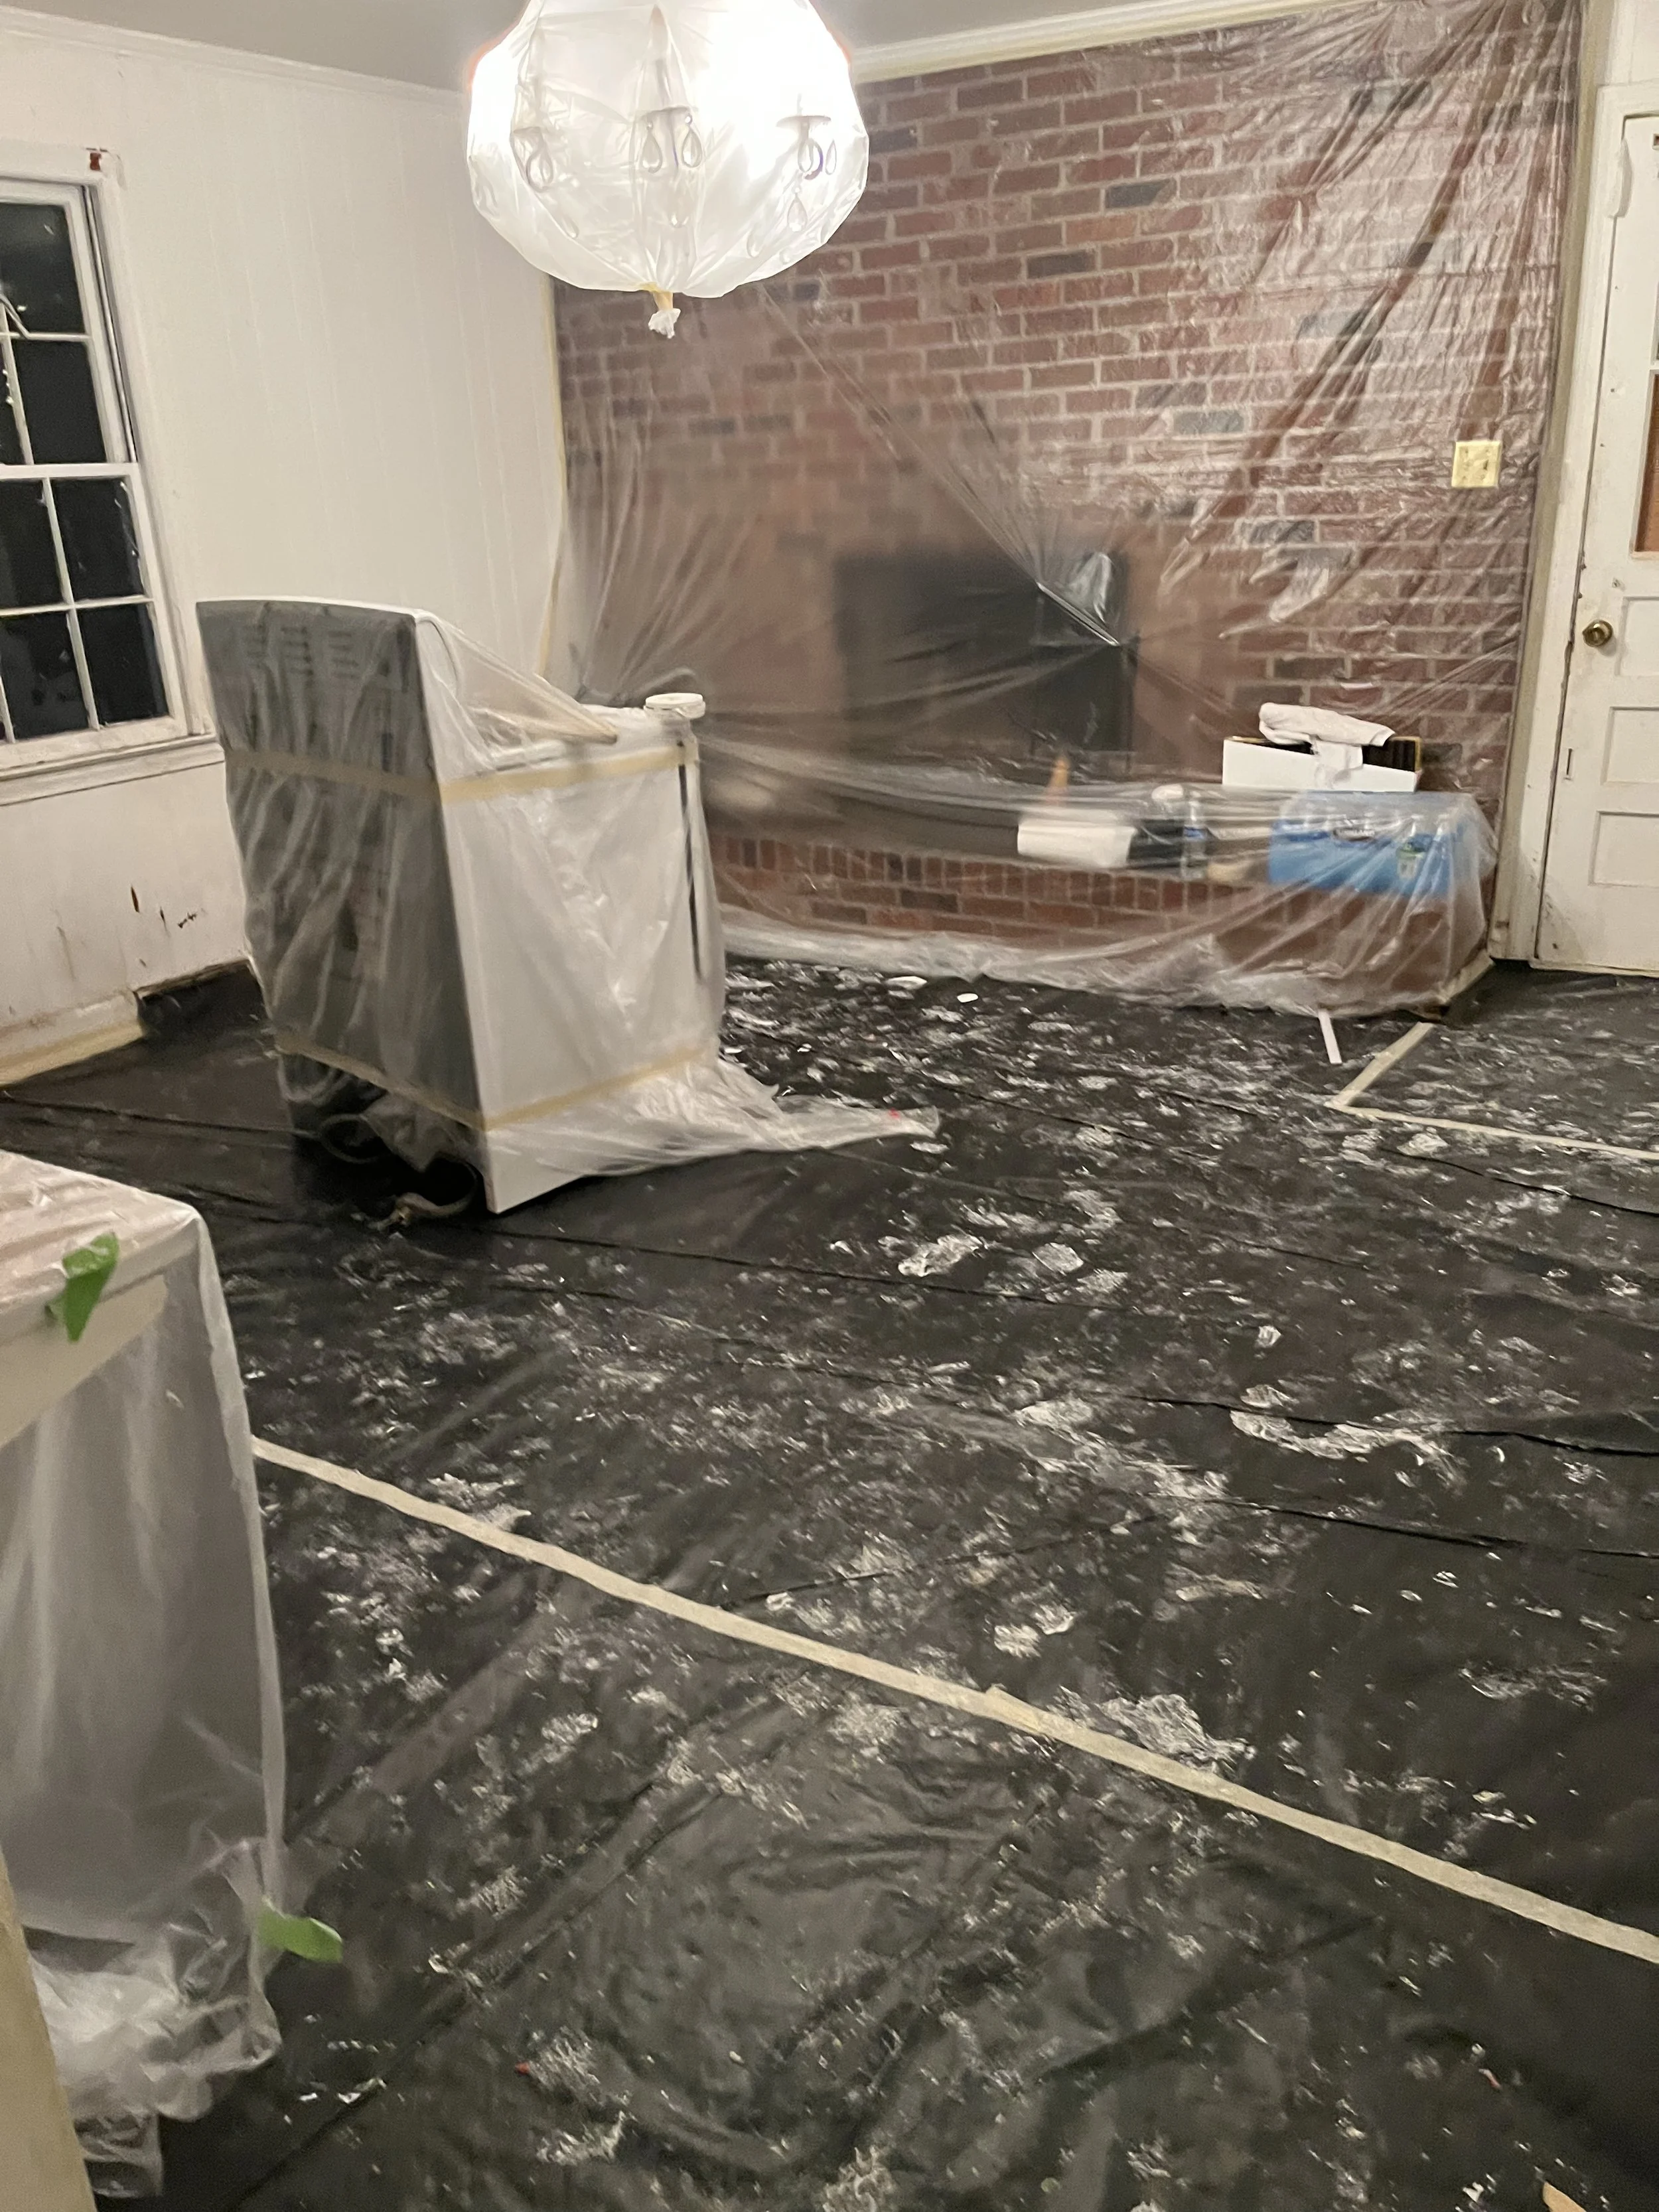
This space has been a little complicated. We kind of knew what we wanted to do and kind of didn’t. We knew we would replace the carpet and paint the paneling white. We knew we would paint the wood stove and fix the railing. We knew we would remove the blinds and clean up the trash in the windows.
We struggled with whether or not to paint the brick. We didn’t realize we would have to replace the hot water heater (although the constant stream of rusty water was telling). We differed on how to tackle the laundry room floor.
We decided not to paint the brick because once we painted one part of the exposed brick, we would have to paint it all. Which would have included the fireplace in the den, the walls in the downstairs, possible the laundry room and the stairs going into the garage den. The stairs are what put the brakes on for me. No one wants dirty, chipped painted brick. So the next homeowners can decide about the brick.
Jonathan is right to be concerned about the laundry room floor. The laundry room is really the only space that hasn’t been completely renovated. But we had to stop somewhere. We could have done a lot in that room and we just weren't sure what would be most beneficial towards the sales price. So the next homeowners can make decisions about this room as well. But Jonathan fixed the holes under the windows and put up new window casing. He also ground the floors and painted them grey with concrete paint. Hopefully the little bit of TLC will be noticed by those making an offer.


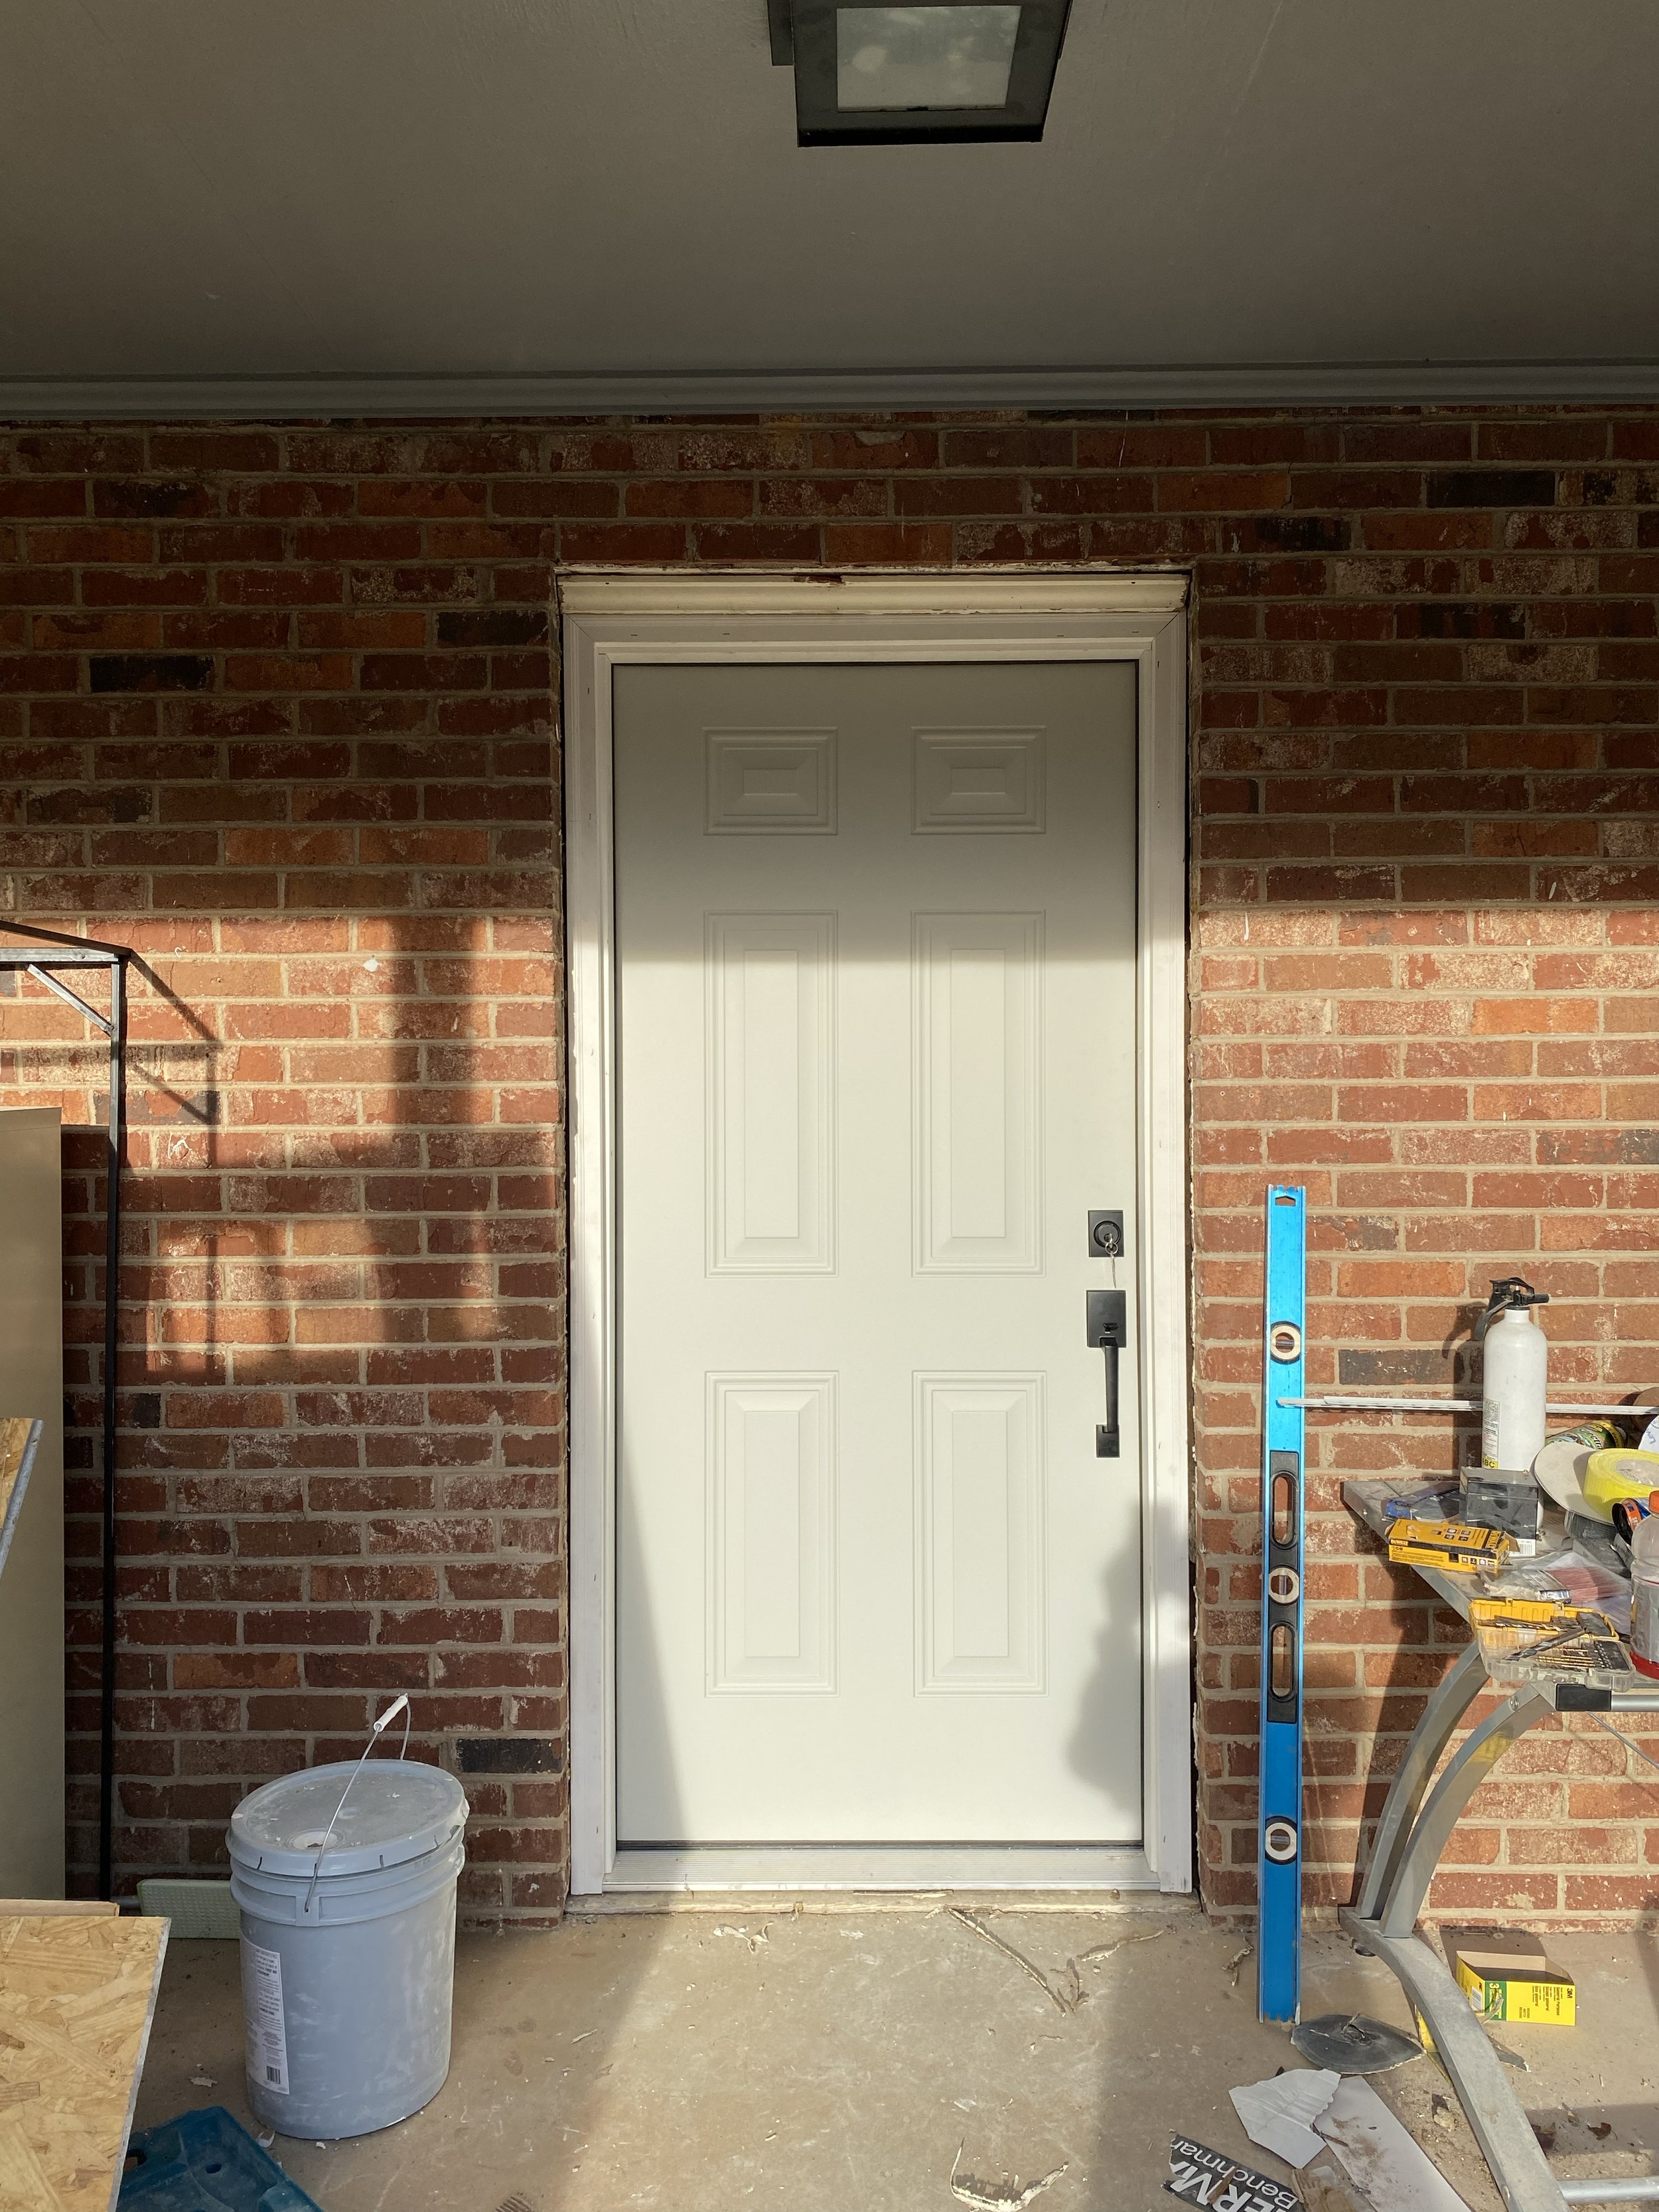
Exterior
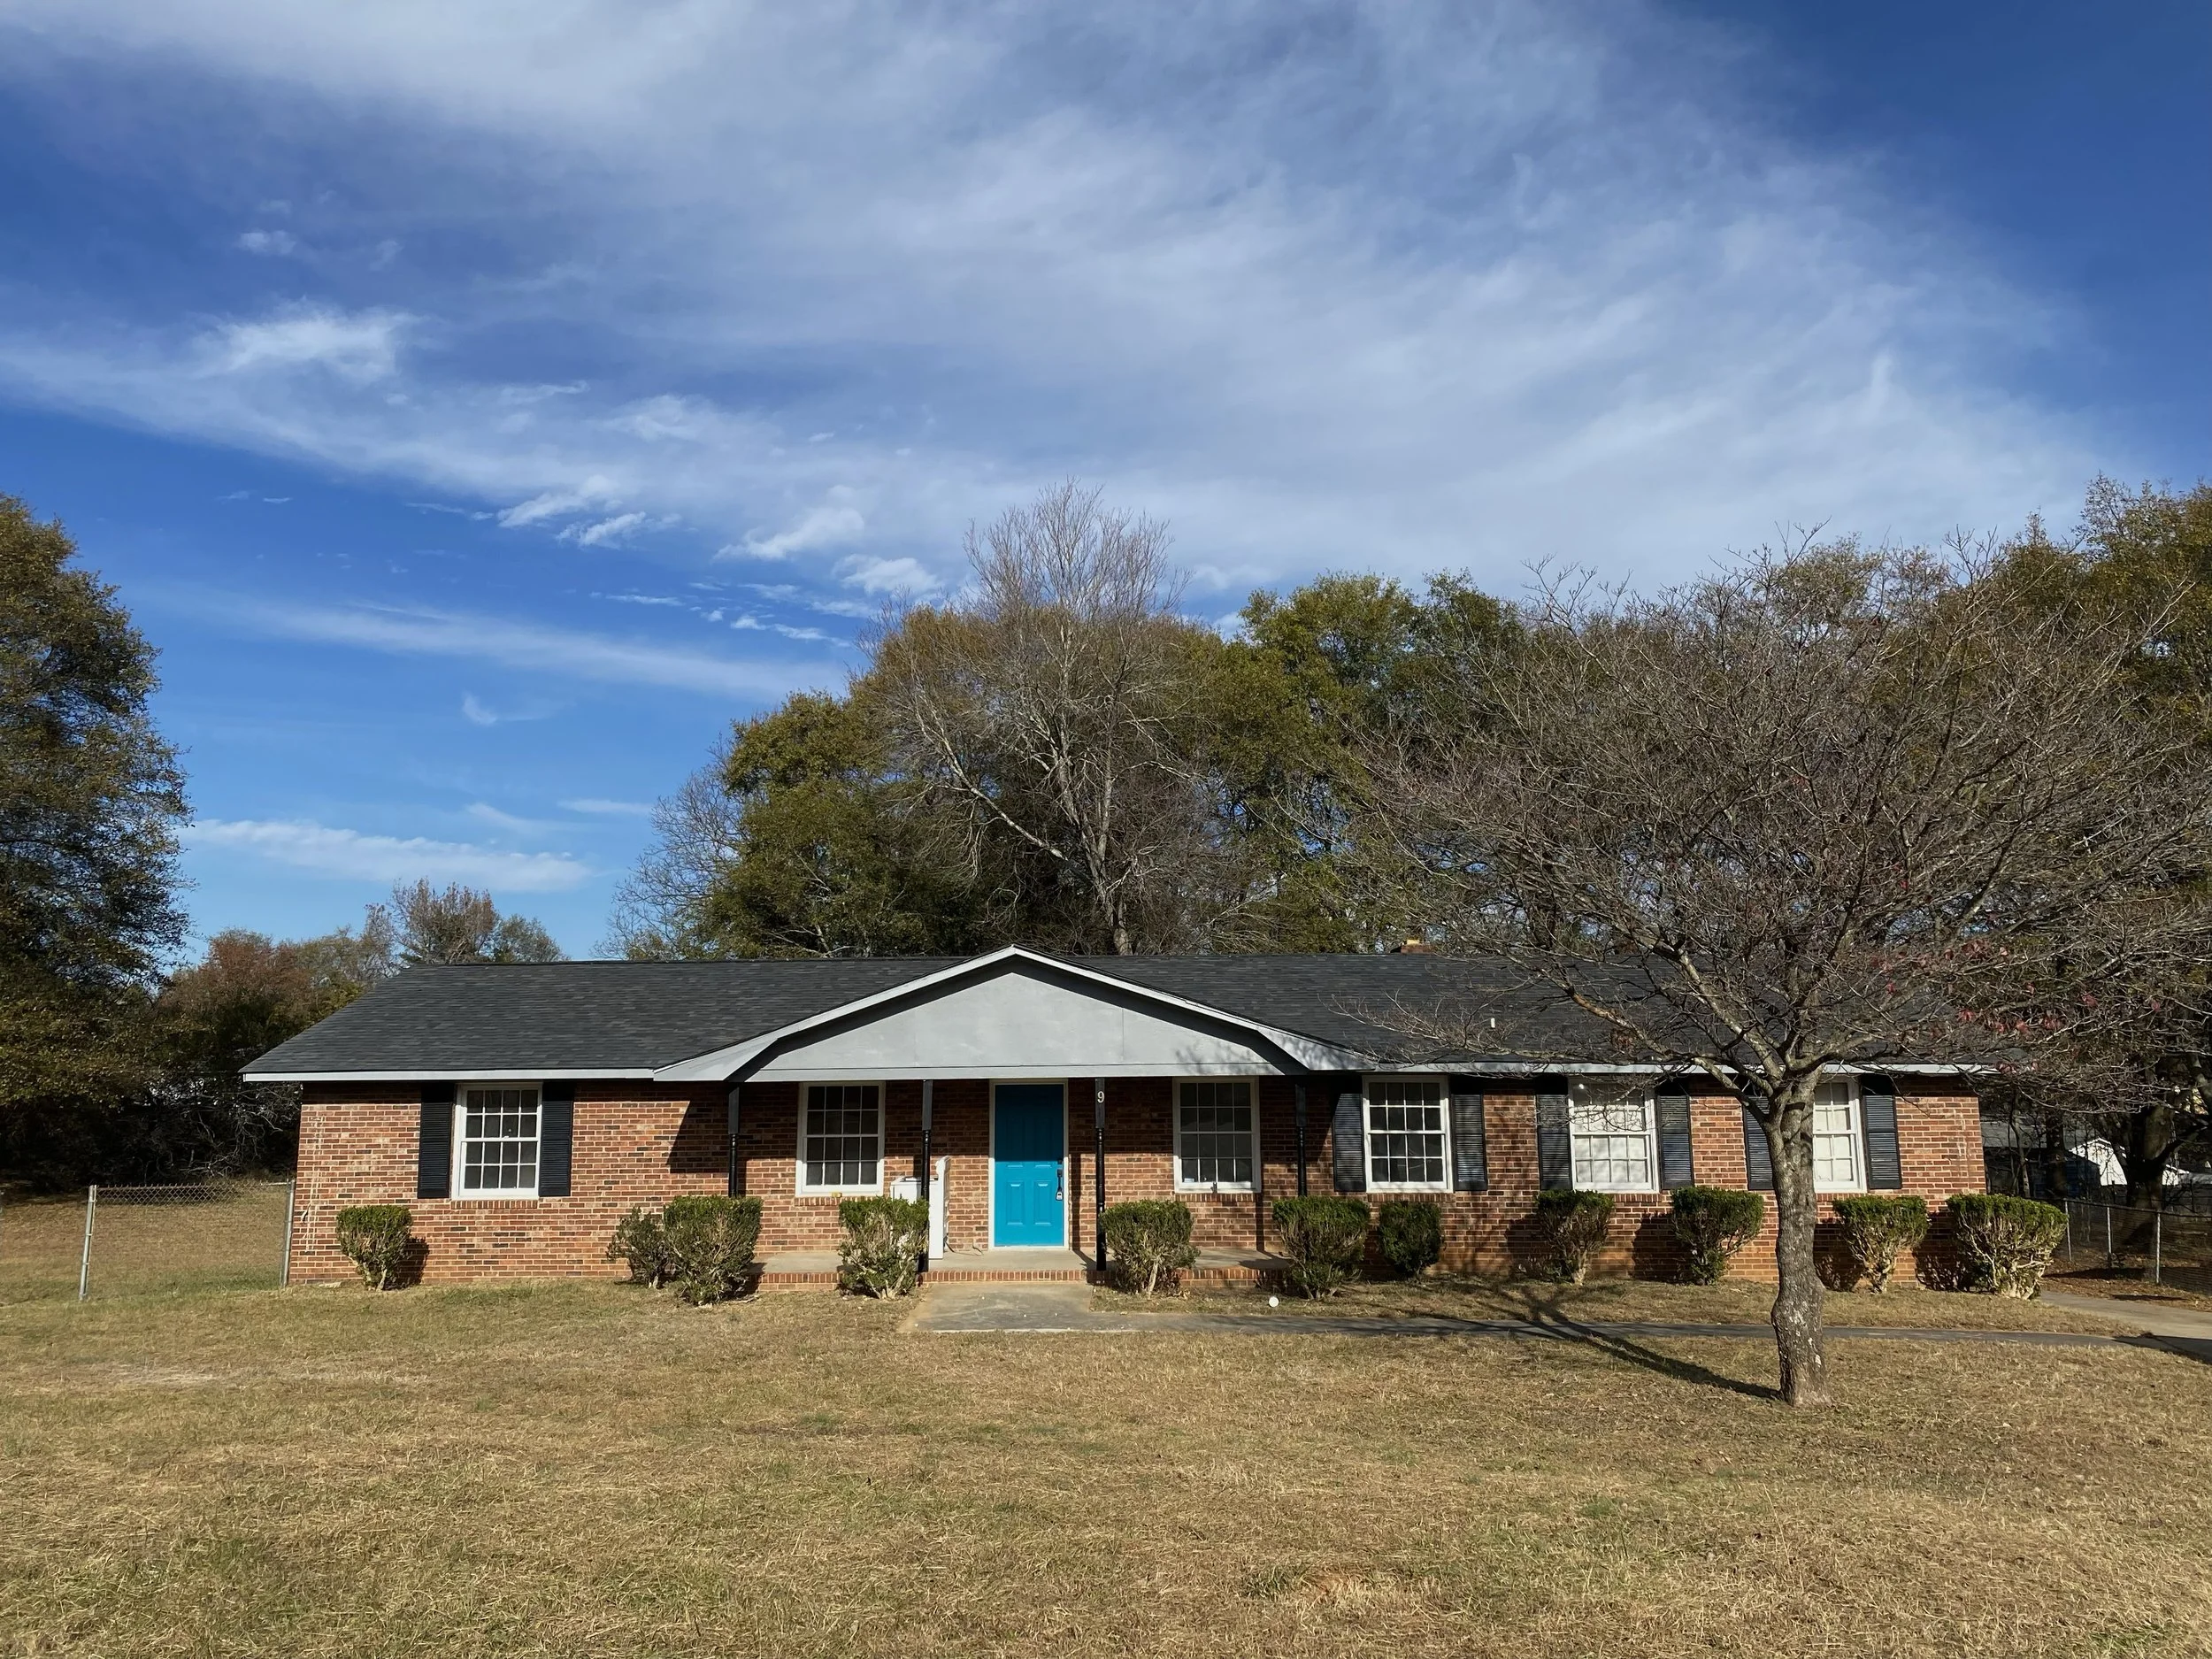
As I said before, when you buy a foreclosure property, you are only able to see the outside of it. We do all of our research online first and then drive around to see each property for sale. For 9 Riggs, this was the picture on Zillow:

Below are pictures from when I drove by it after we bought it. Kind of a “what did we get ourselves into” drive by! You can see that the son of the previous homeowner, Simon, replaced the roof and painted the shingles and posts navy, and the trim grey. Already it looked better.


I don't think I have a before picture of the mailbox, but needless to say - it had to go. I think they used a tree stump and painted it navy.
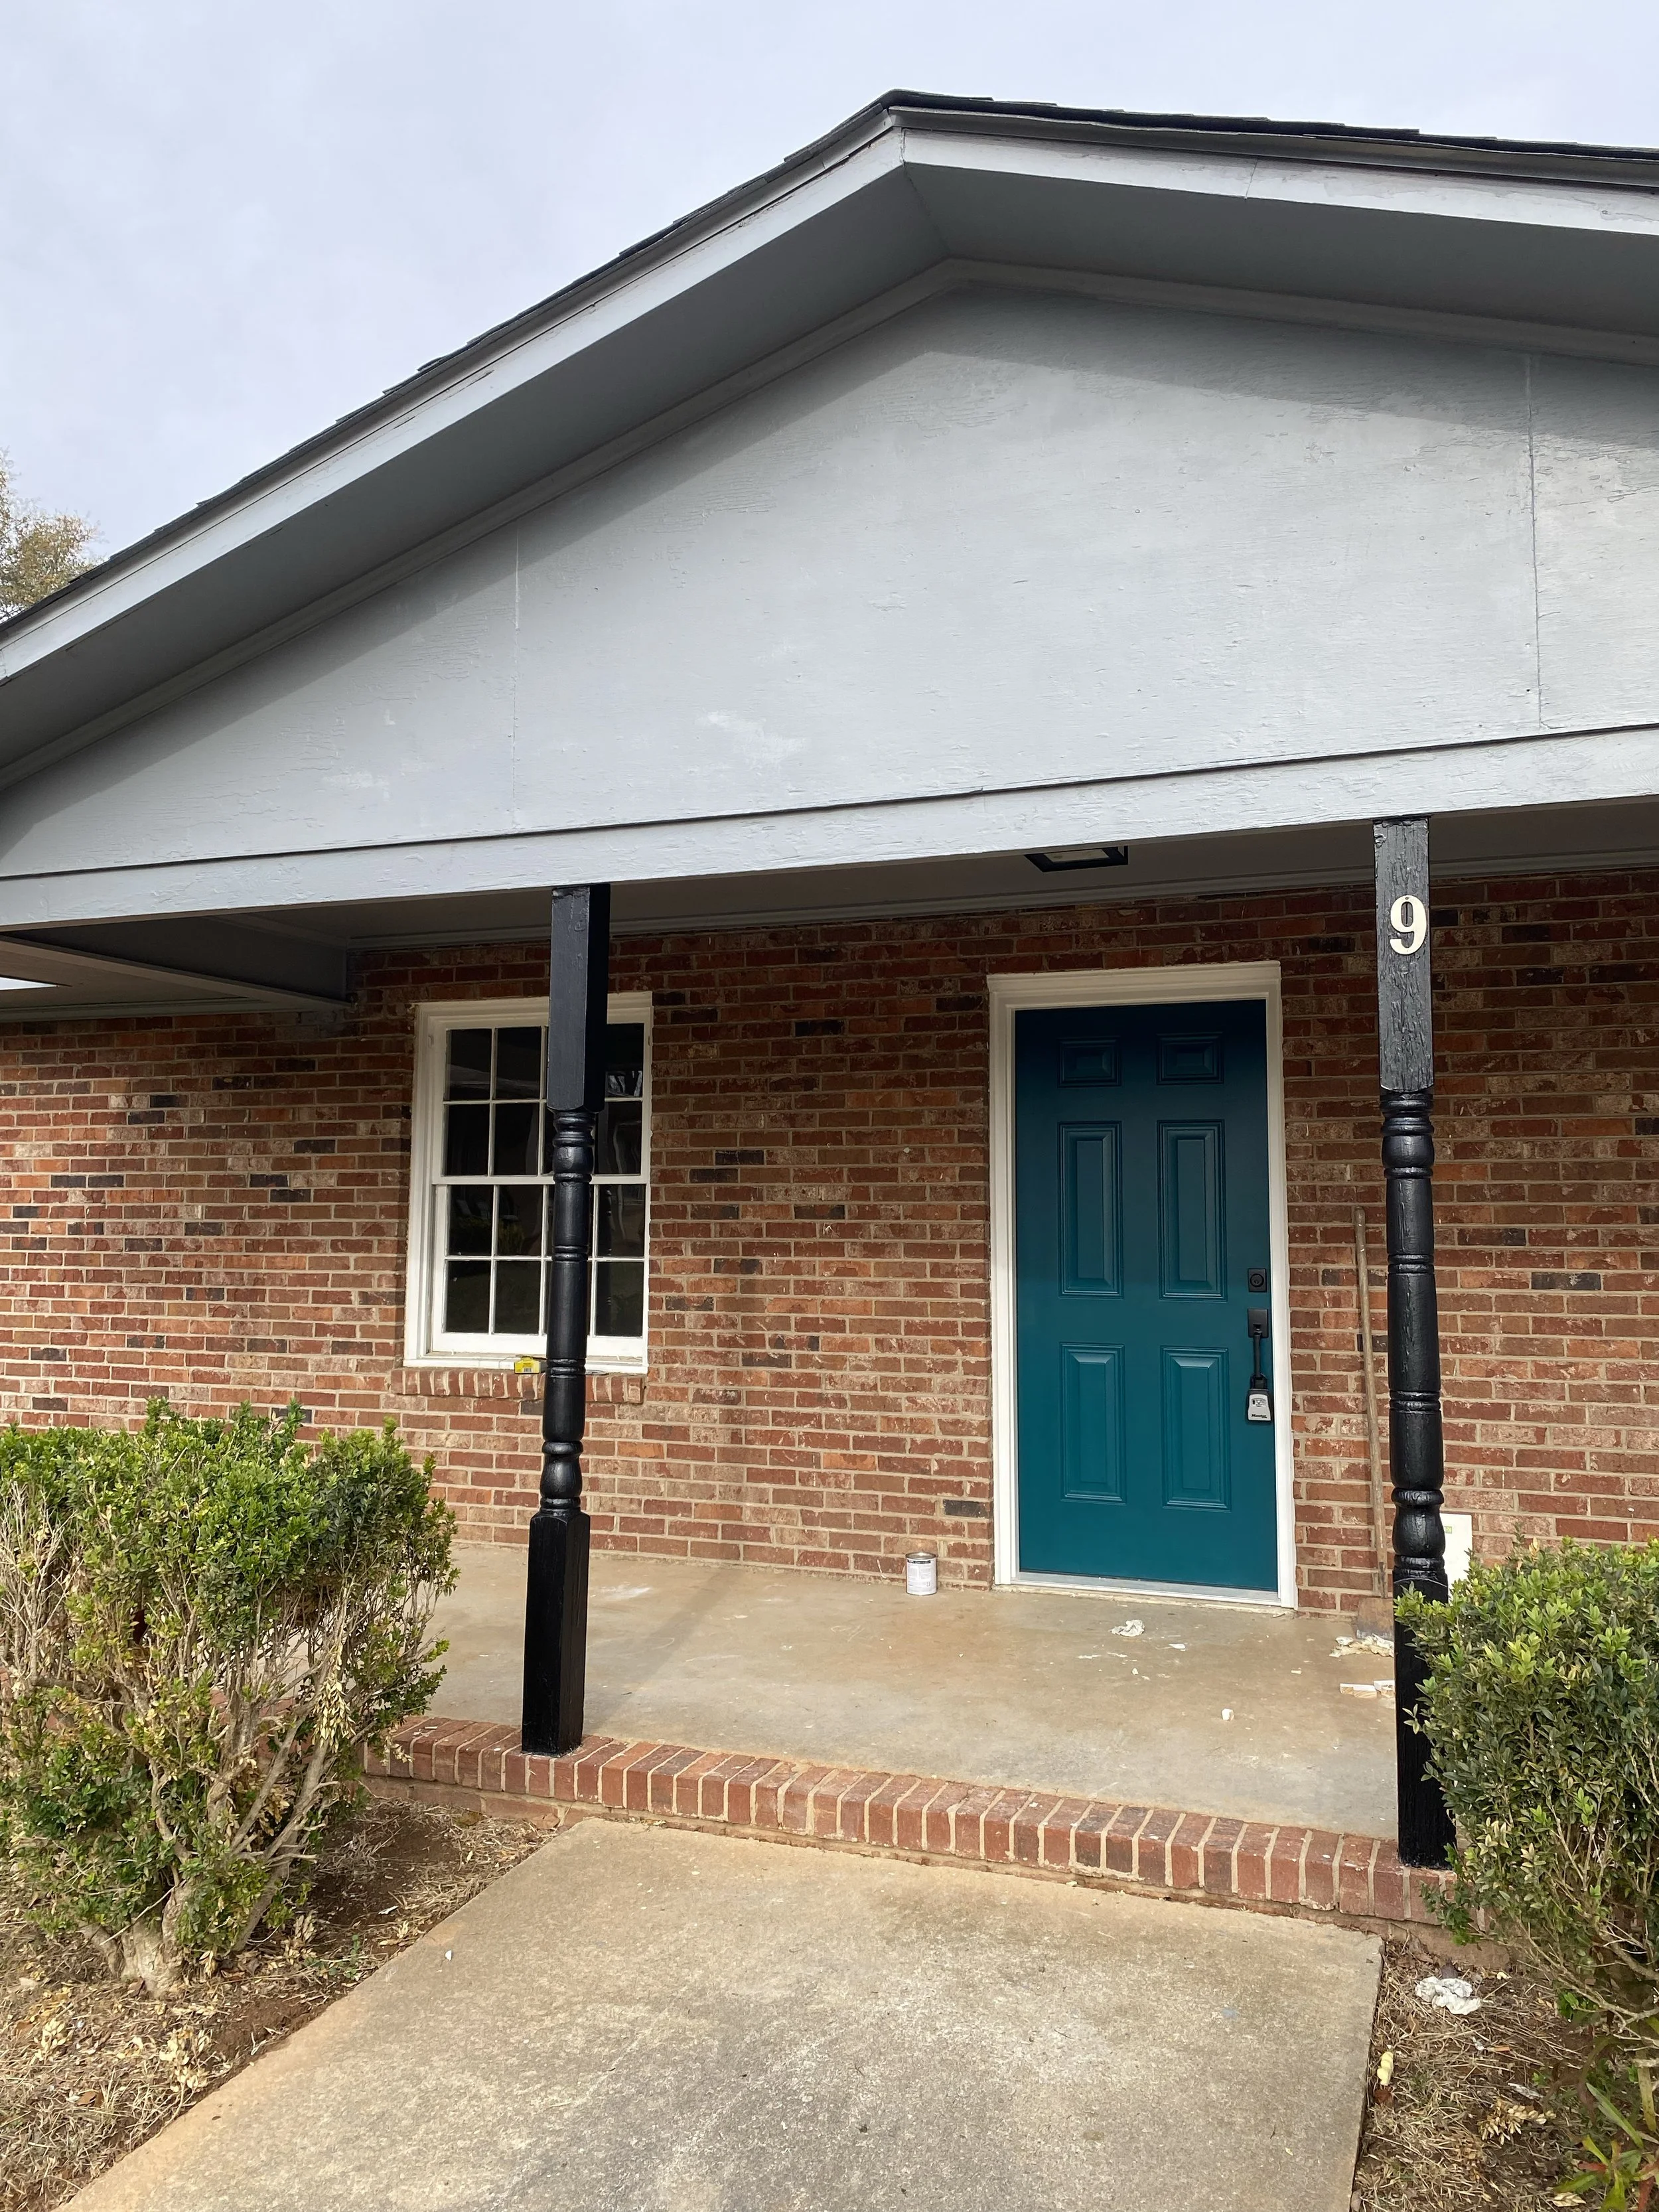
As for the front of the house, we were very thankful that Simon recently painted the trim grey and then we decided to repaint the shutters and posts black. We also removed the fence from the front of the yard, but keep it for the back. I think it makes the house seem far more inviting.
Then the door… Jonathan and I differed on the color of the door, but he kindly allowed me to pick the door color. If he had his way it would have been black to match the shutters. But since we didn’t have a lot of color on the inside of the house, I wanted the door to stand out in some way and I thought a color on the door would look nice and hopefully more “custom”.
So I picked teal. I really tried to pick the right color of teal. I taped different color swatches on the door and tried to come at different times of the day to see when the sun would hit it. But I picked incorrectly. haha It was bad. But not to worry, it has been fixed! Now I love the color teal that we used and Jonathan likes it too. We went with SW 0064 Blue Peacock from Sherwin Williams. It isn’t too dark, but not neon blue either. It’s perfect!


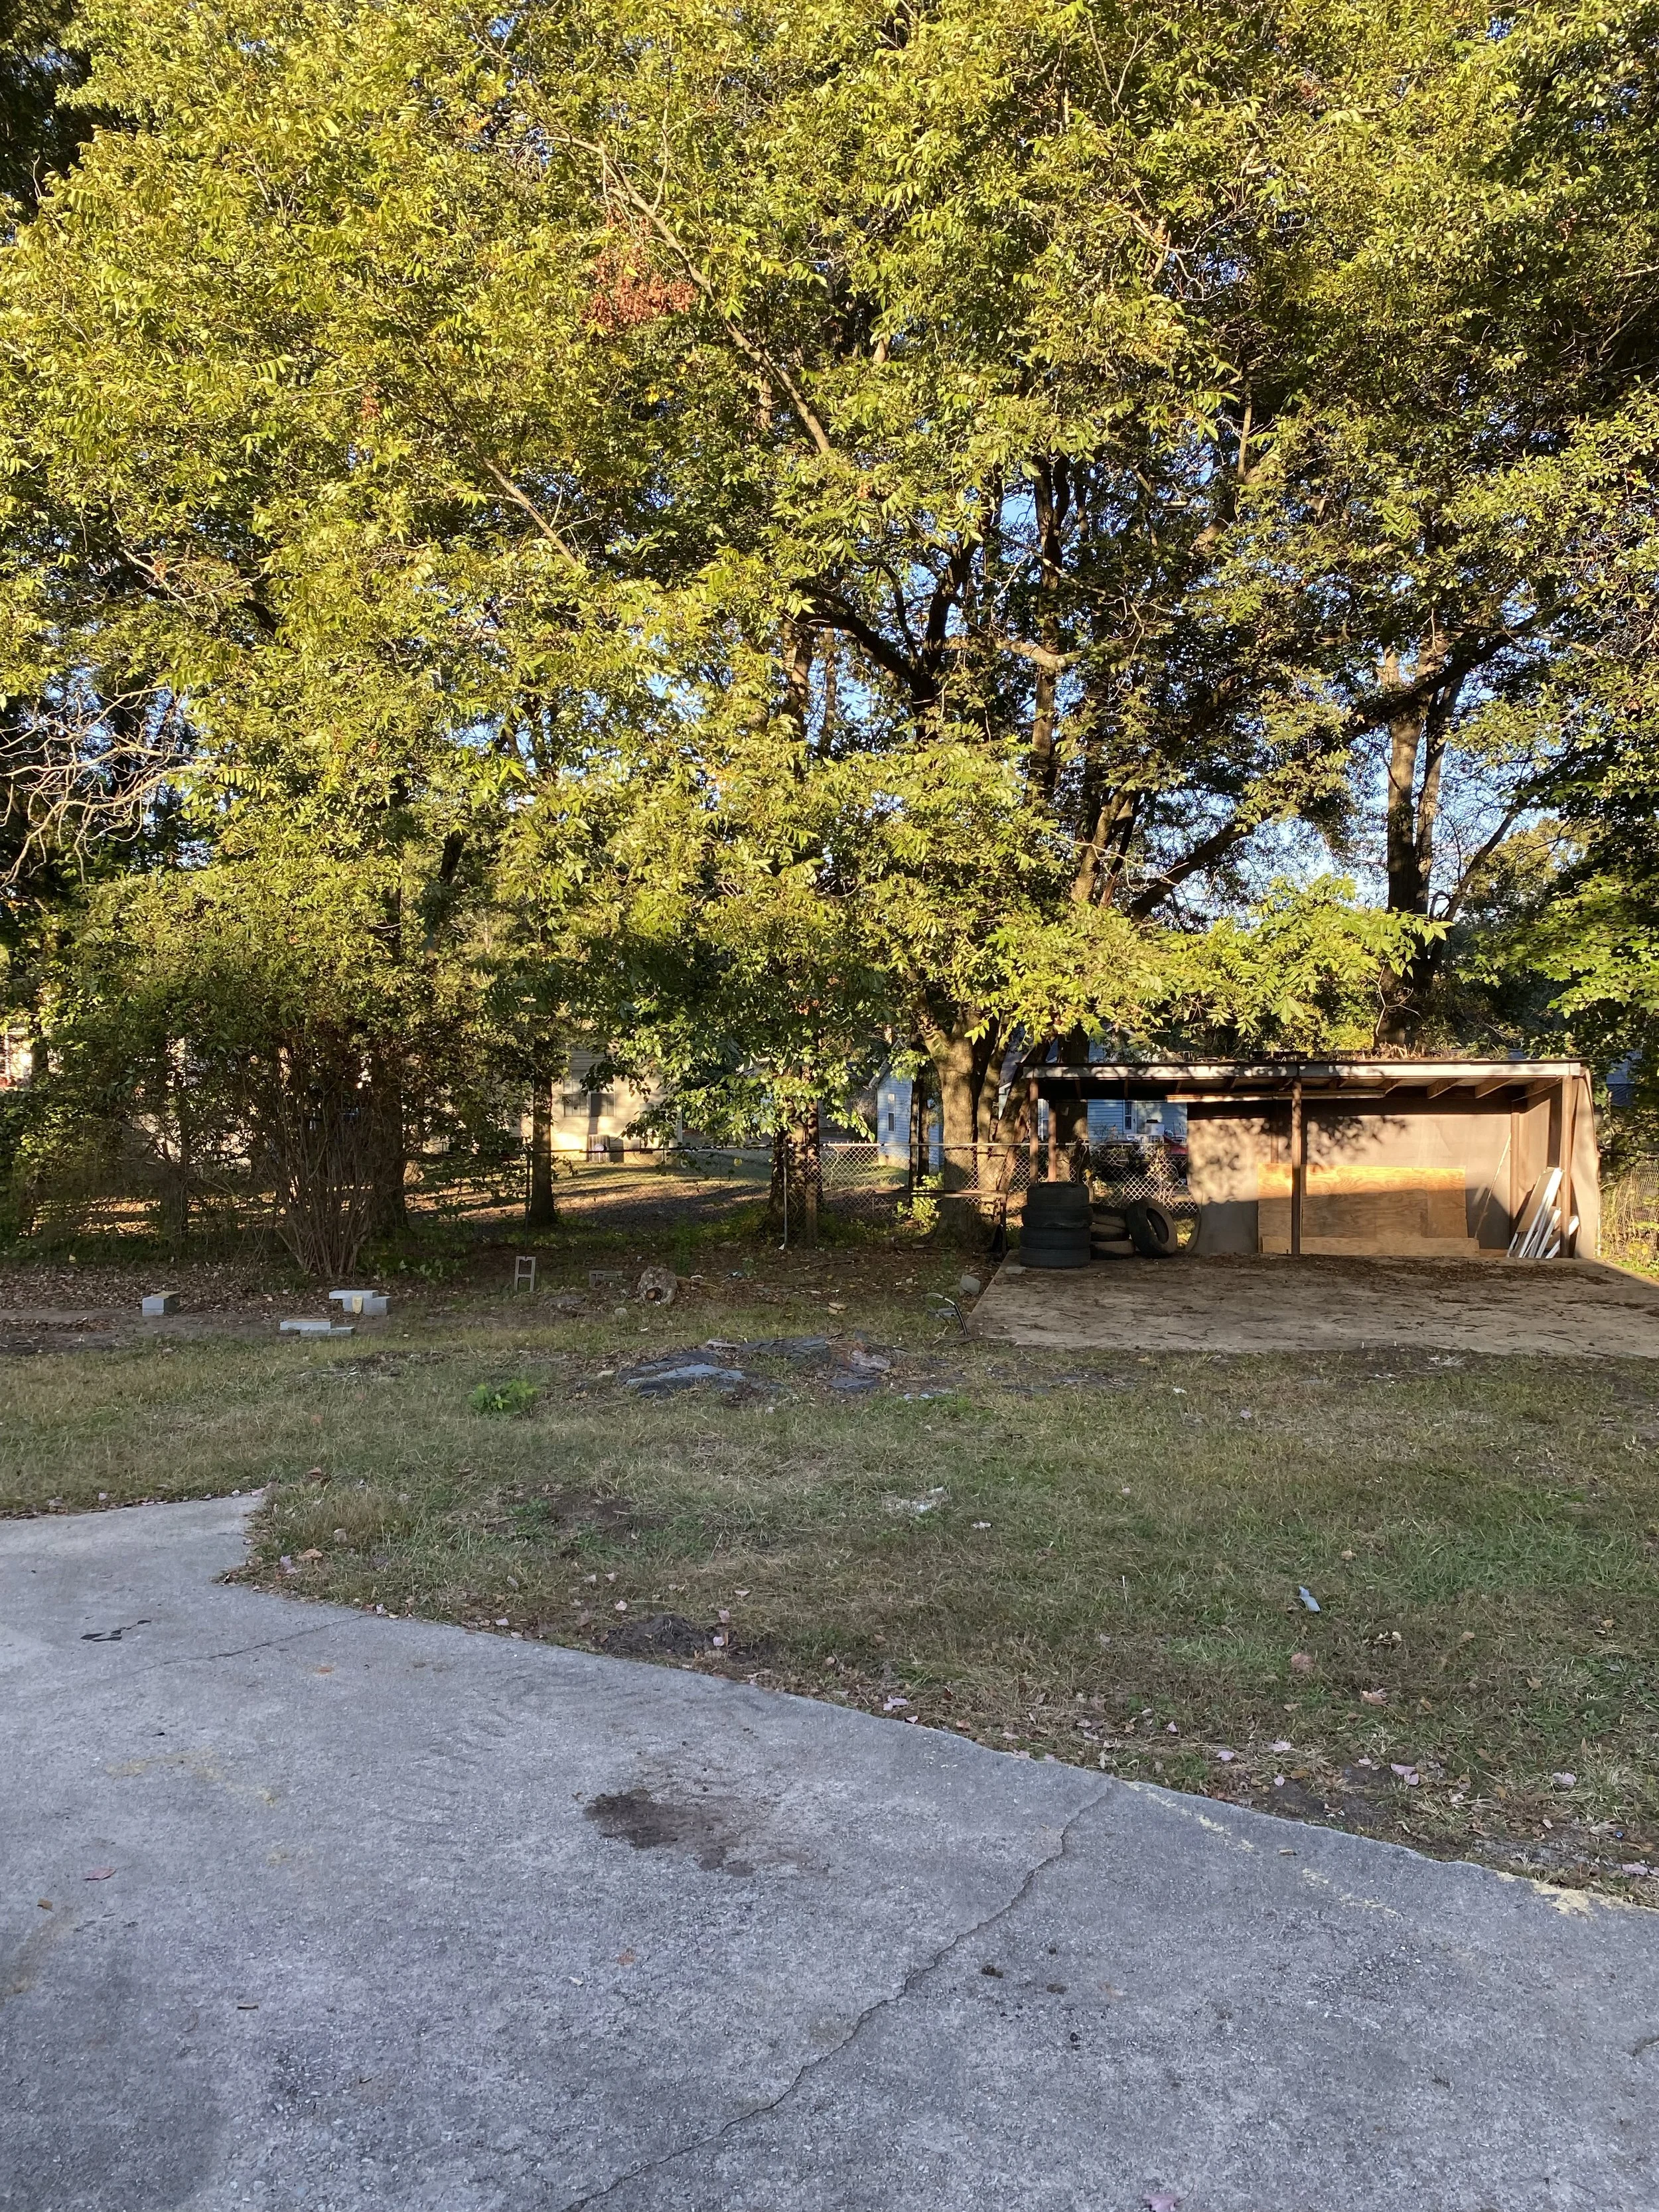
The house is sitting on around .5 acres but it seems a lot bigger than that. Since it is on the end of the cul-de-sac we have the biggest yard on the block. The backyard would be perfect for a garden but when we bought it, it was home to several large trees that had fallen down in the back corner and loads and loads of trash. Roofing shingles for miles and miles and soda cans to fill a truck. Many hours were spent on trash cleanup.
There is also a nice shed and concrete pad that looks to maybe have once been a carport with power? A great space for someone to build a workshop.
Also, in the back is a new exterior door and giant new HVAC unit. We replaced just about everything in the house and one of the things we replaced is the entire heating and air system. New unit. New ductwork. And plastic covering the entire underneath of the house in the crawl space. We did it right.


Details
It’s all in the detail, right? Or something like that, but the finishes are the most important part to me. We did this renovation the cheapest way I knew possible. But I didn’t want it to look cheap. Yes, we kept the original tile and we did it because of the budget. But also, I liked the way the old tile looked with the new. Yes, we kept the old doors, but we painted them white and gave them heavy, substantial, modern handles. I wanted each part of the house to look intentional and well thought out. And while we didn’t get to remake this house with a $1,000,000 budget, we made it beautiful and who can argue with that.


